All you need to know about the blue hour in photography
Dec 26, 2024
Dunja Djudjic
Dunja Djudjic is a multi-talented artist based in Novi Sad, Serbia. With 15 years of experience as a photographer, she specializes in capturing the beauty of nature, travel, and fine art. In addition to her photography, Dunja also expresses her creativity through writing, embroidery, and jewelry making.
Share:
I feel like we talk a lot about the golden hour, while the blue hour in photography seems to be a little neglected in comparison. Well, we’re about to change that. After all, the blue hour gives your scenes a little bit of magic just like the golden hour does. It lasts short, making you need to plan better and enjoy the magic while it lasts. In this guide, we’ll explore everything you need to know about blue hour photography so you can plan and execute your ideas flawlessly.
[Learn Photography: Aperture | Shutter Speed | ISO | Exposure Triangle | White Balance | Depth of Field | Panning | Vinneting | TTL | More…]
Table of contents
Introduction
What is the blue hour?
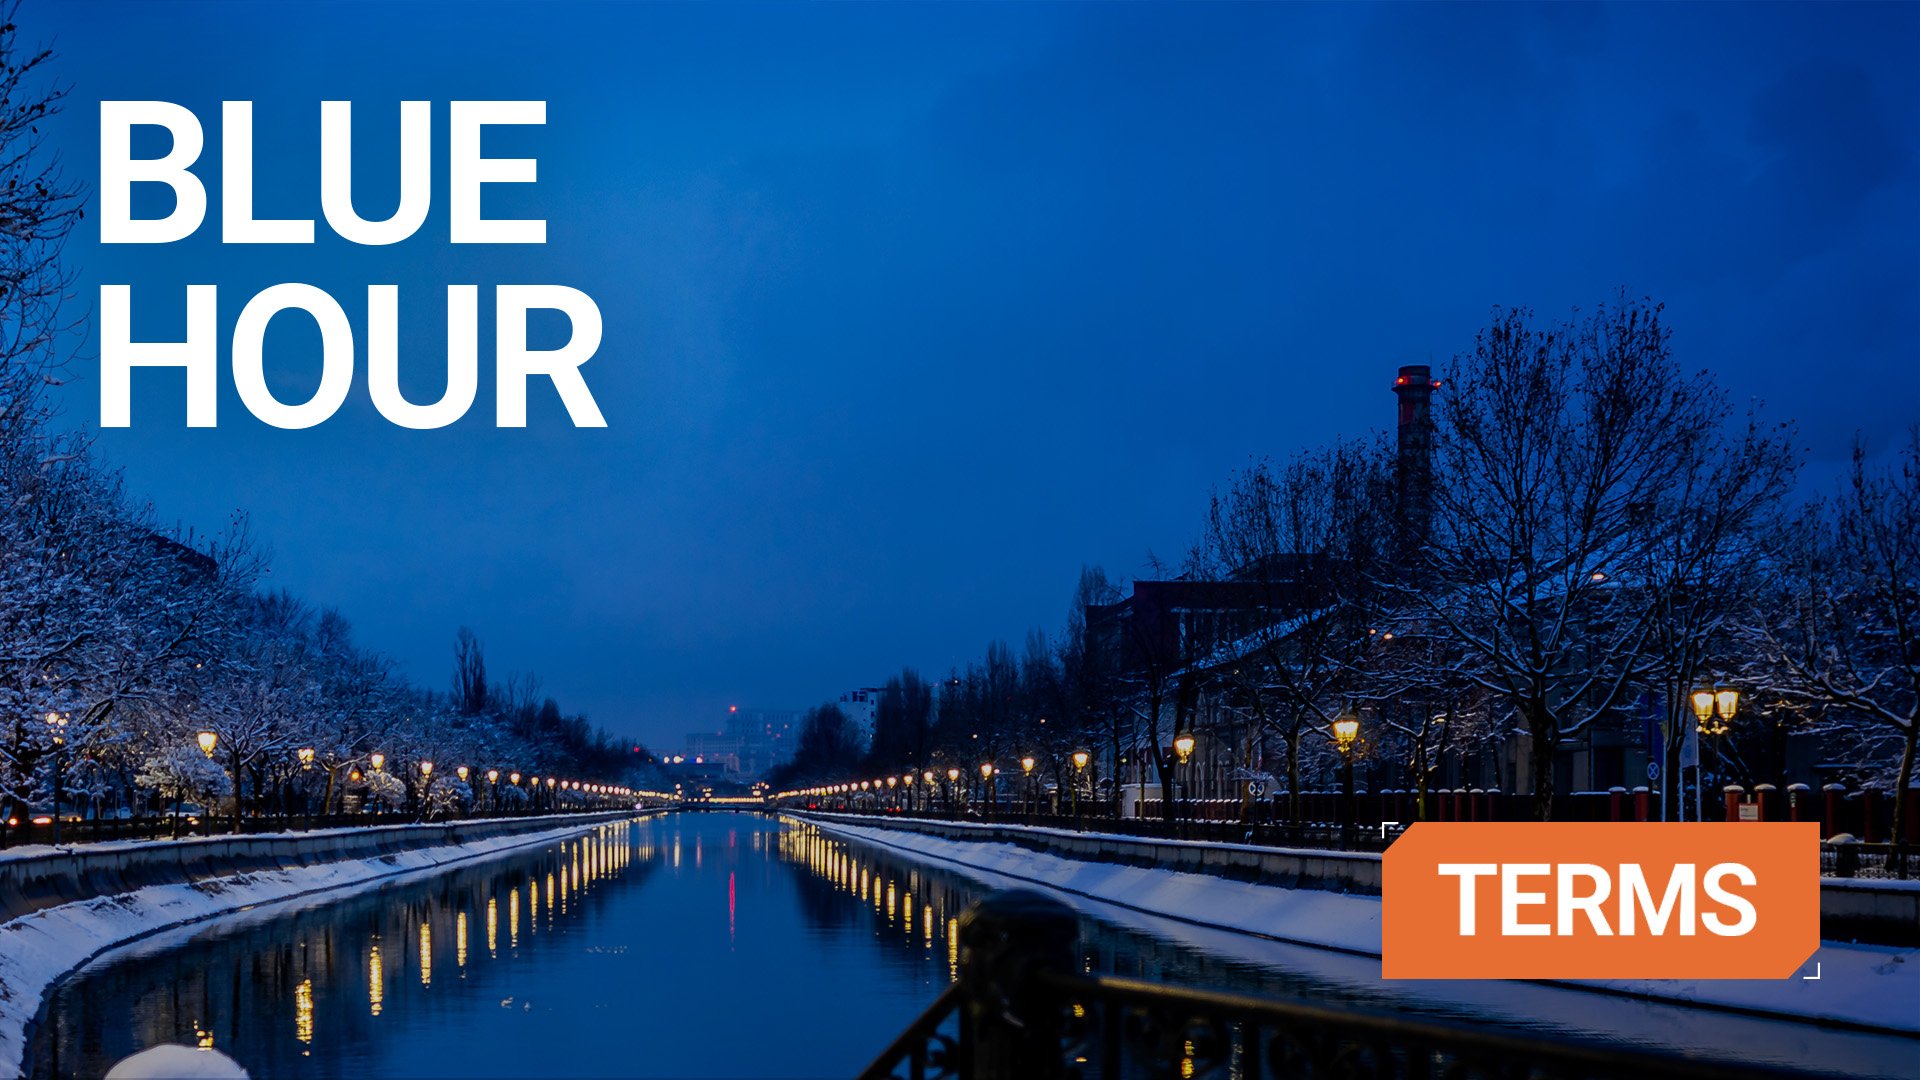
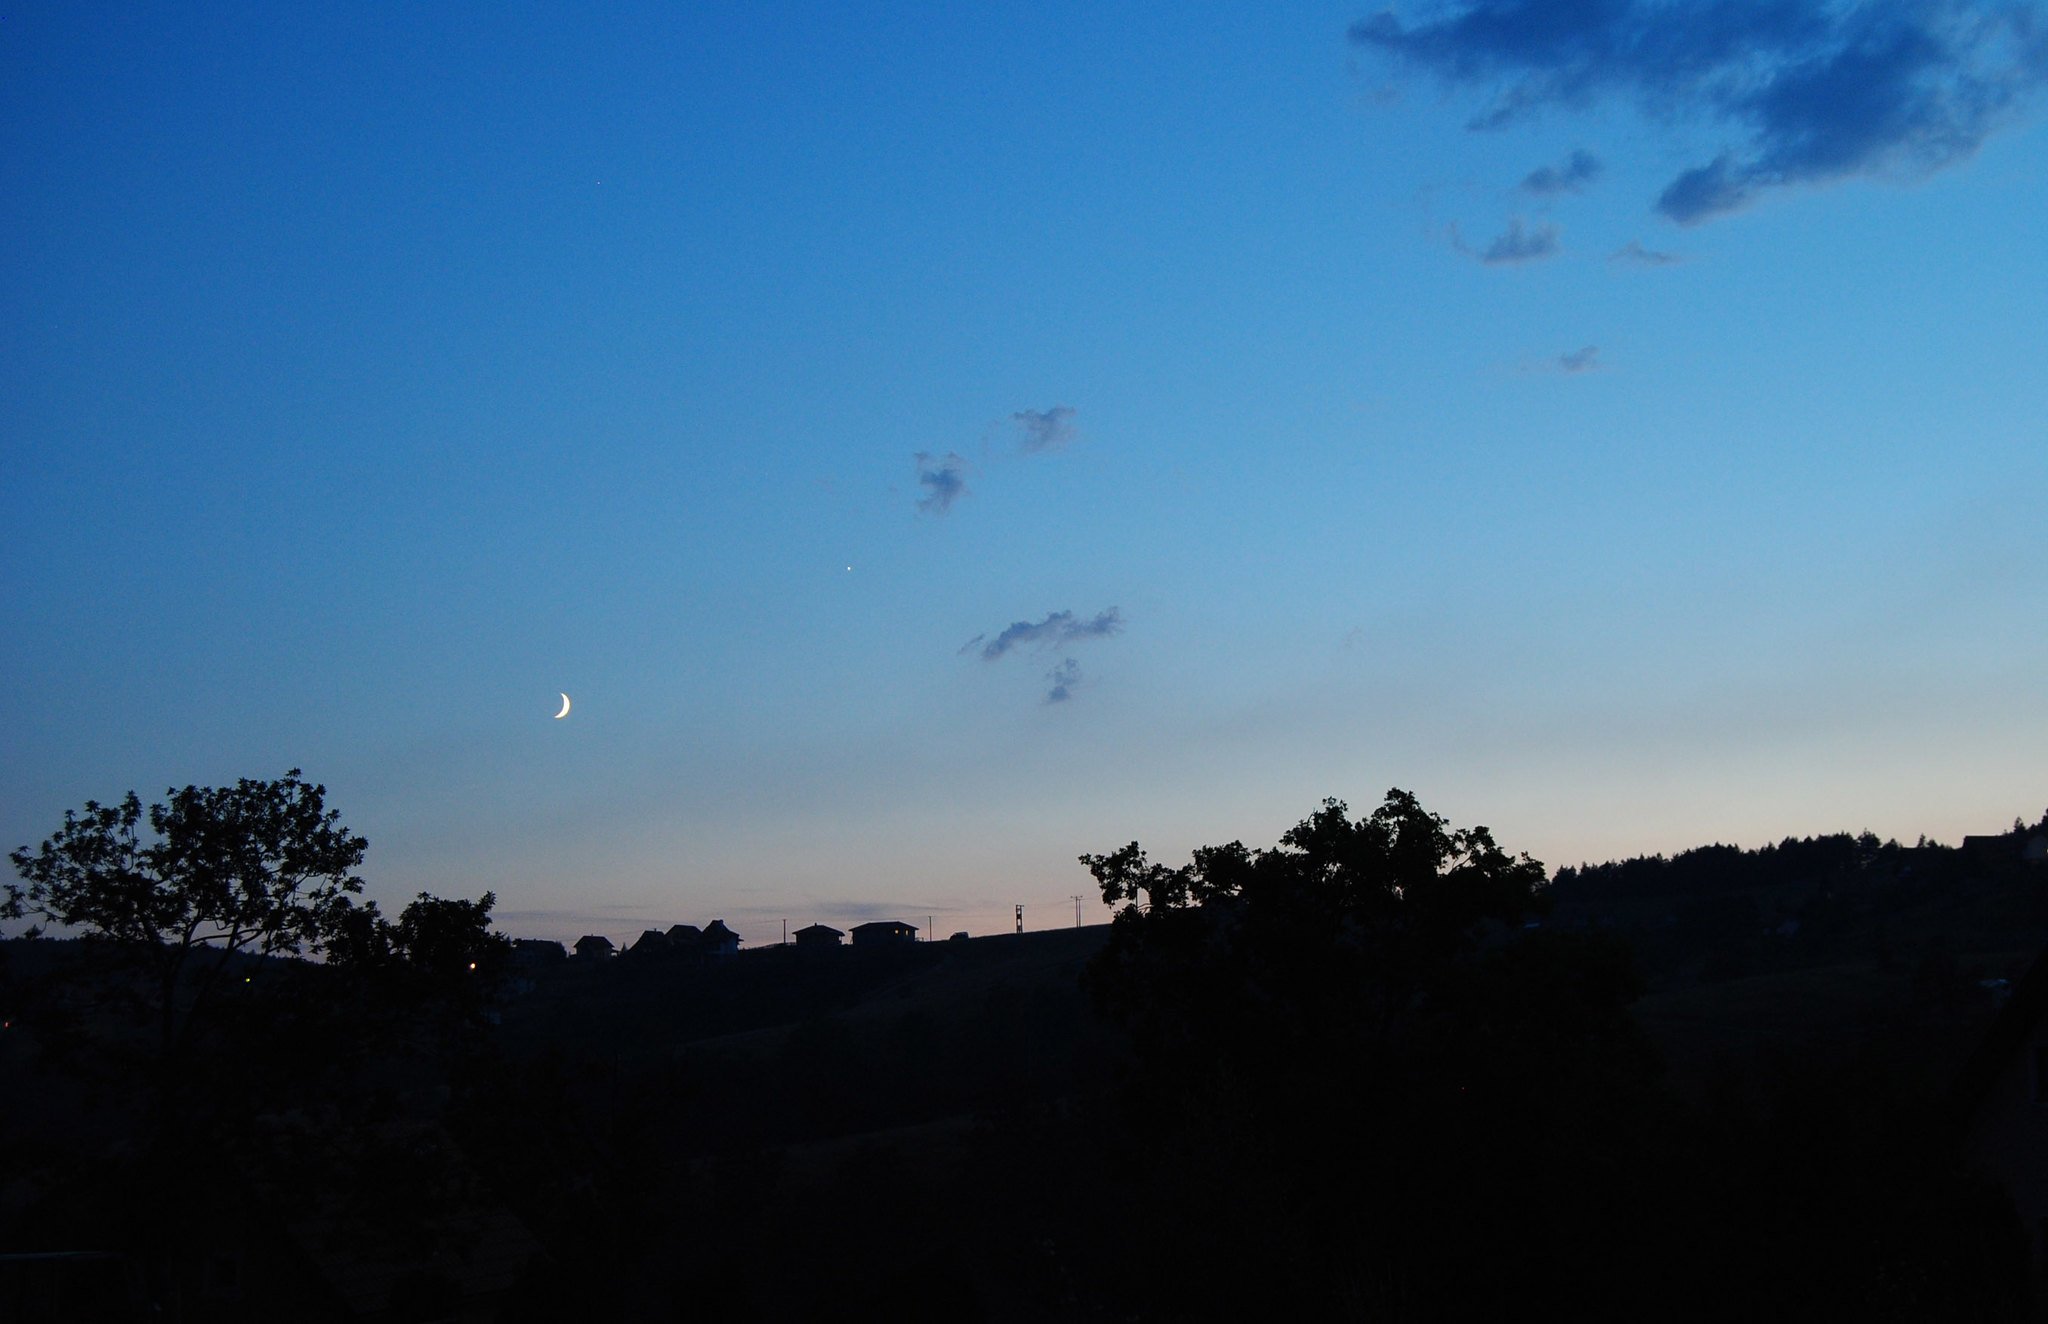
The blue hour refers to the period of twilight when the sun is just below the horizon, casting a soft blue glow across the sky. Scientifically, this happens because the sun’s light scatters in the atmosphere, emphasizing shorter wavelengths, such as blue. The result is a cool, tranquil ambiance with rich, deep hues.
This unique light condition creates unparalleled color tones, often accompanied by subtle gradients transitioning from blue to orange or pink. These characteristics make the blue hour a coveted time for photographers, who value its ability to add mood and depth to their images. It is often referred to as the “magical hour” due to its ability to evoke emotions and inspire creativity.
Planning for blue hour photography
Understanding the timing of the blue hour
The blue hour’s duration varies depending on your location and the time of year. It typically lasts 20 to 40 minutes, just before sunrise and after sunset. To make the most of this fleeting window, use apps and websites like PhotoPills, The Photographer’s Ephemeris, Golden Hour.One, Alpenglow, and Sun Surveyor. Dedicated apps can help ensure you’re ready to capture this specific time of the day, tracking both blue hour and golden hour seamlessly.
Choosing the right location
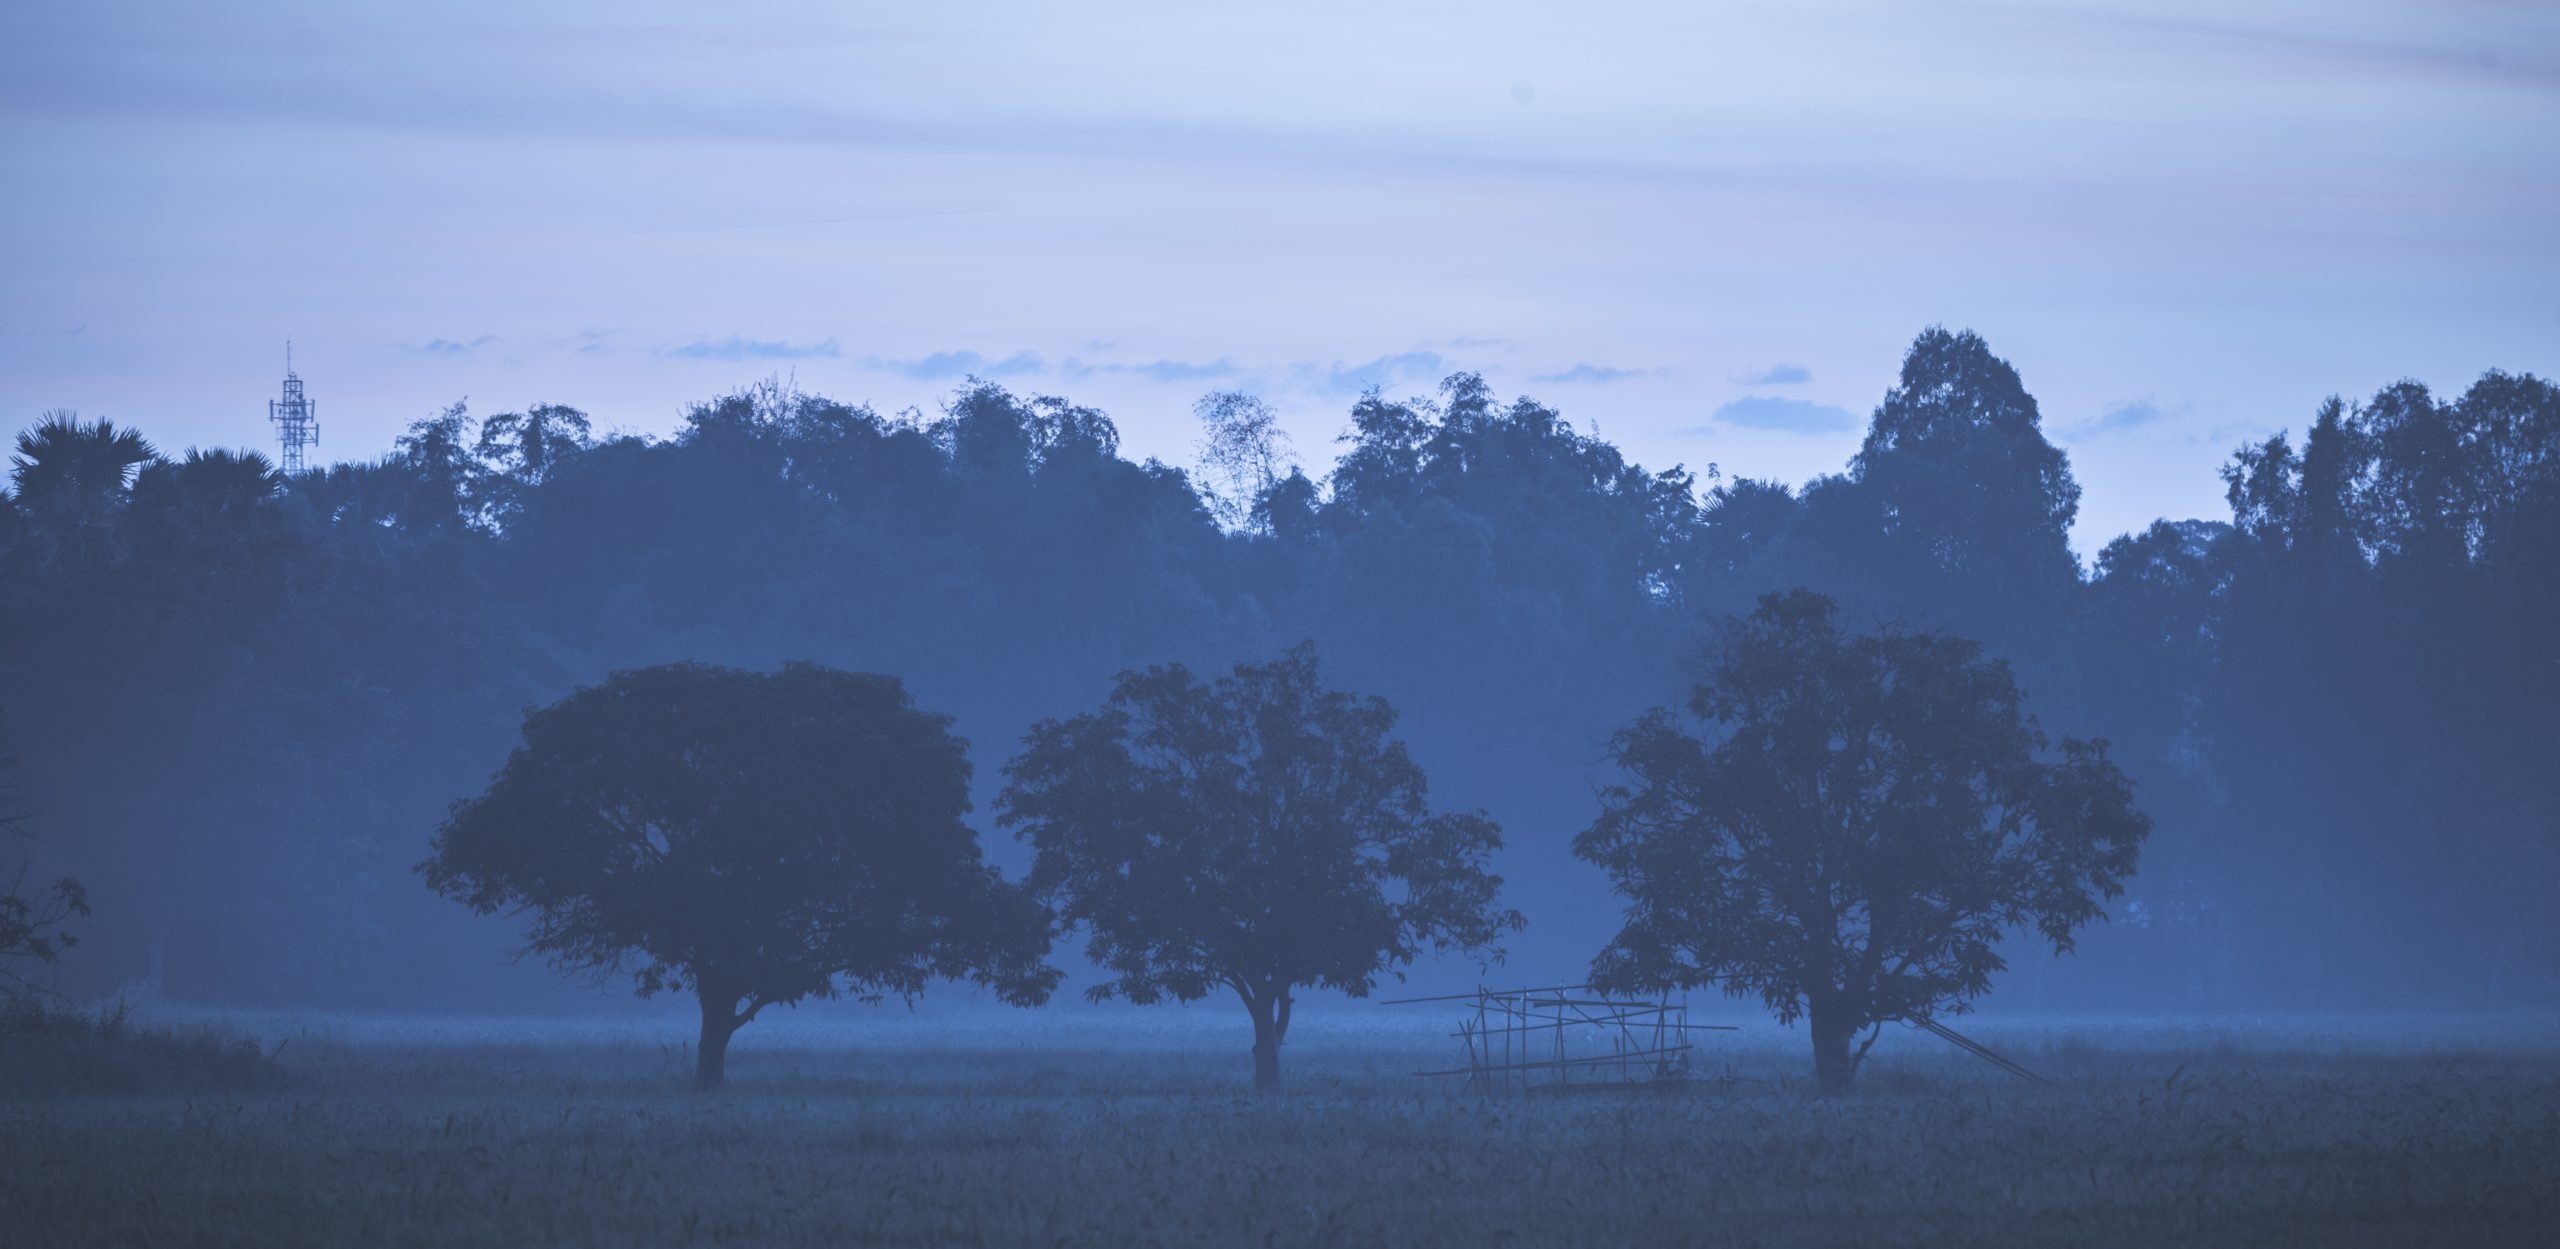
Selecting the ideal spot is crucial, but blue hour can look wonderful anywhere if you ask me. For landscape photography, look for serene environments where mountains, forests, or open fields can be bathed in the soft, diffuse light of twilight. These settings allow you to capture the natural tranquility and details of the landscape that this time of day offers.
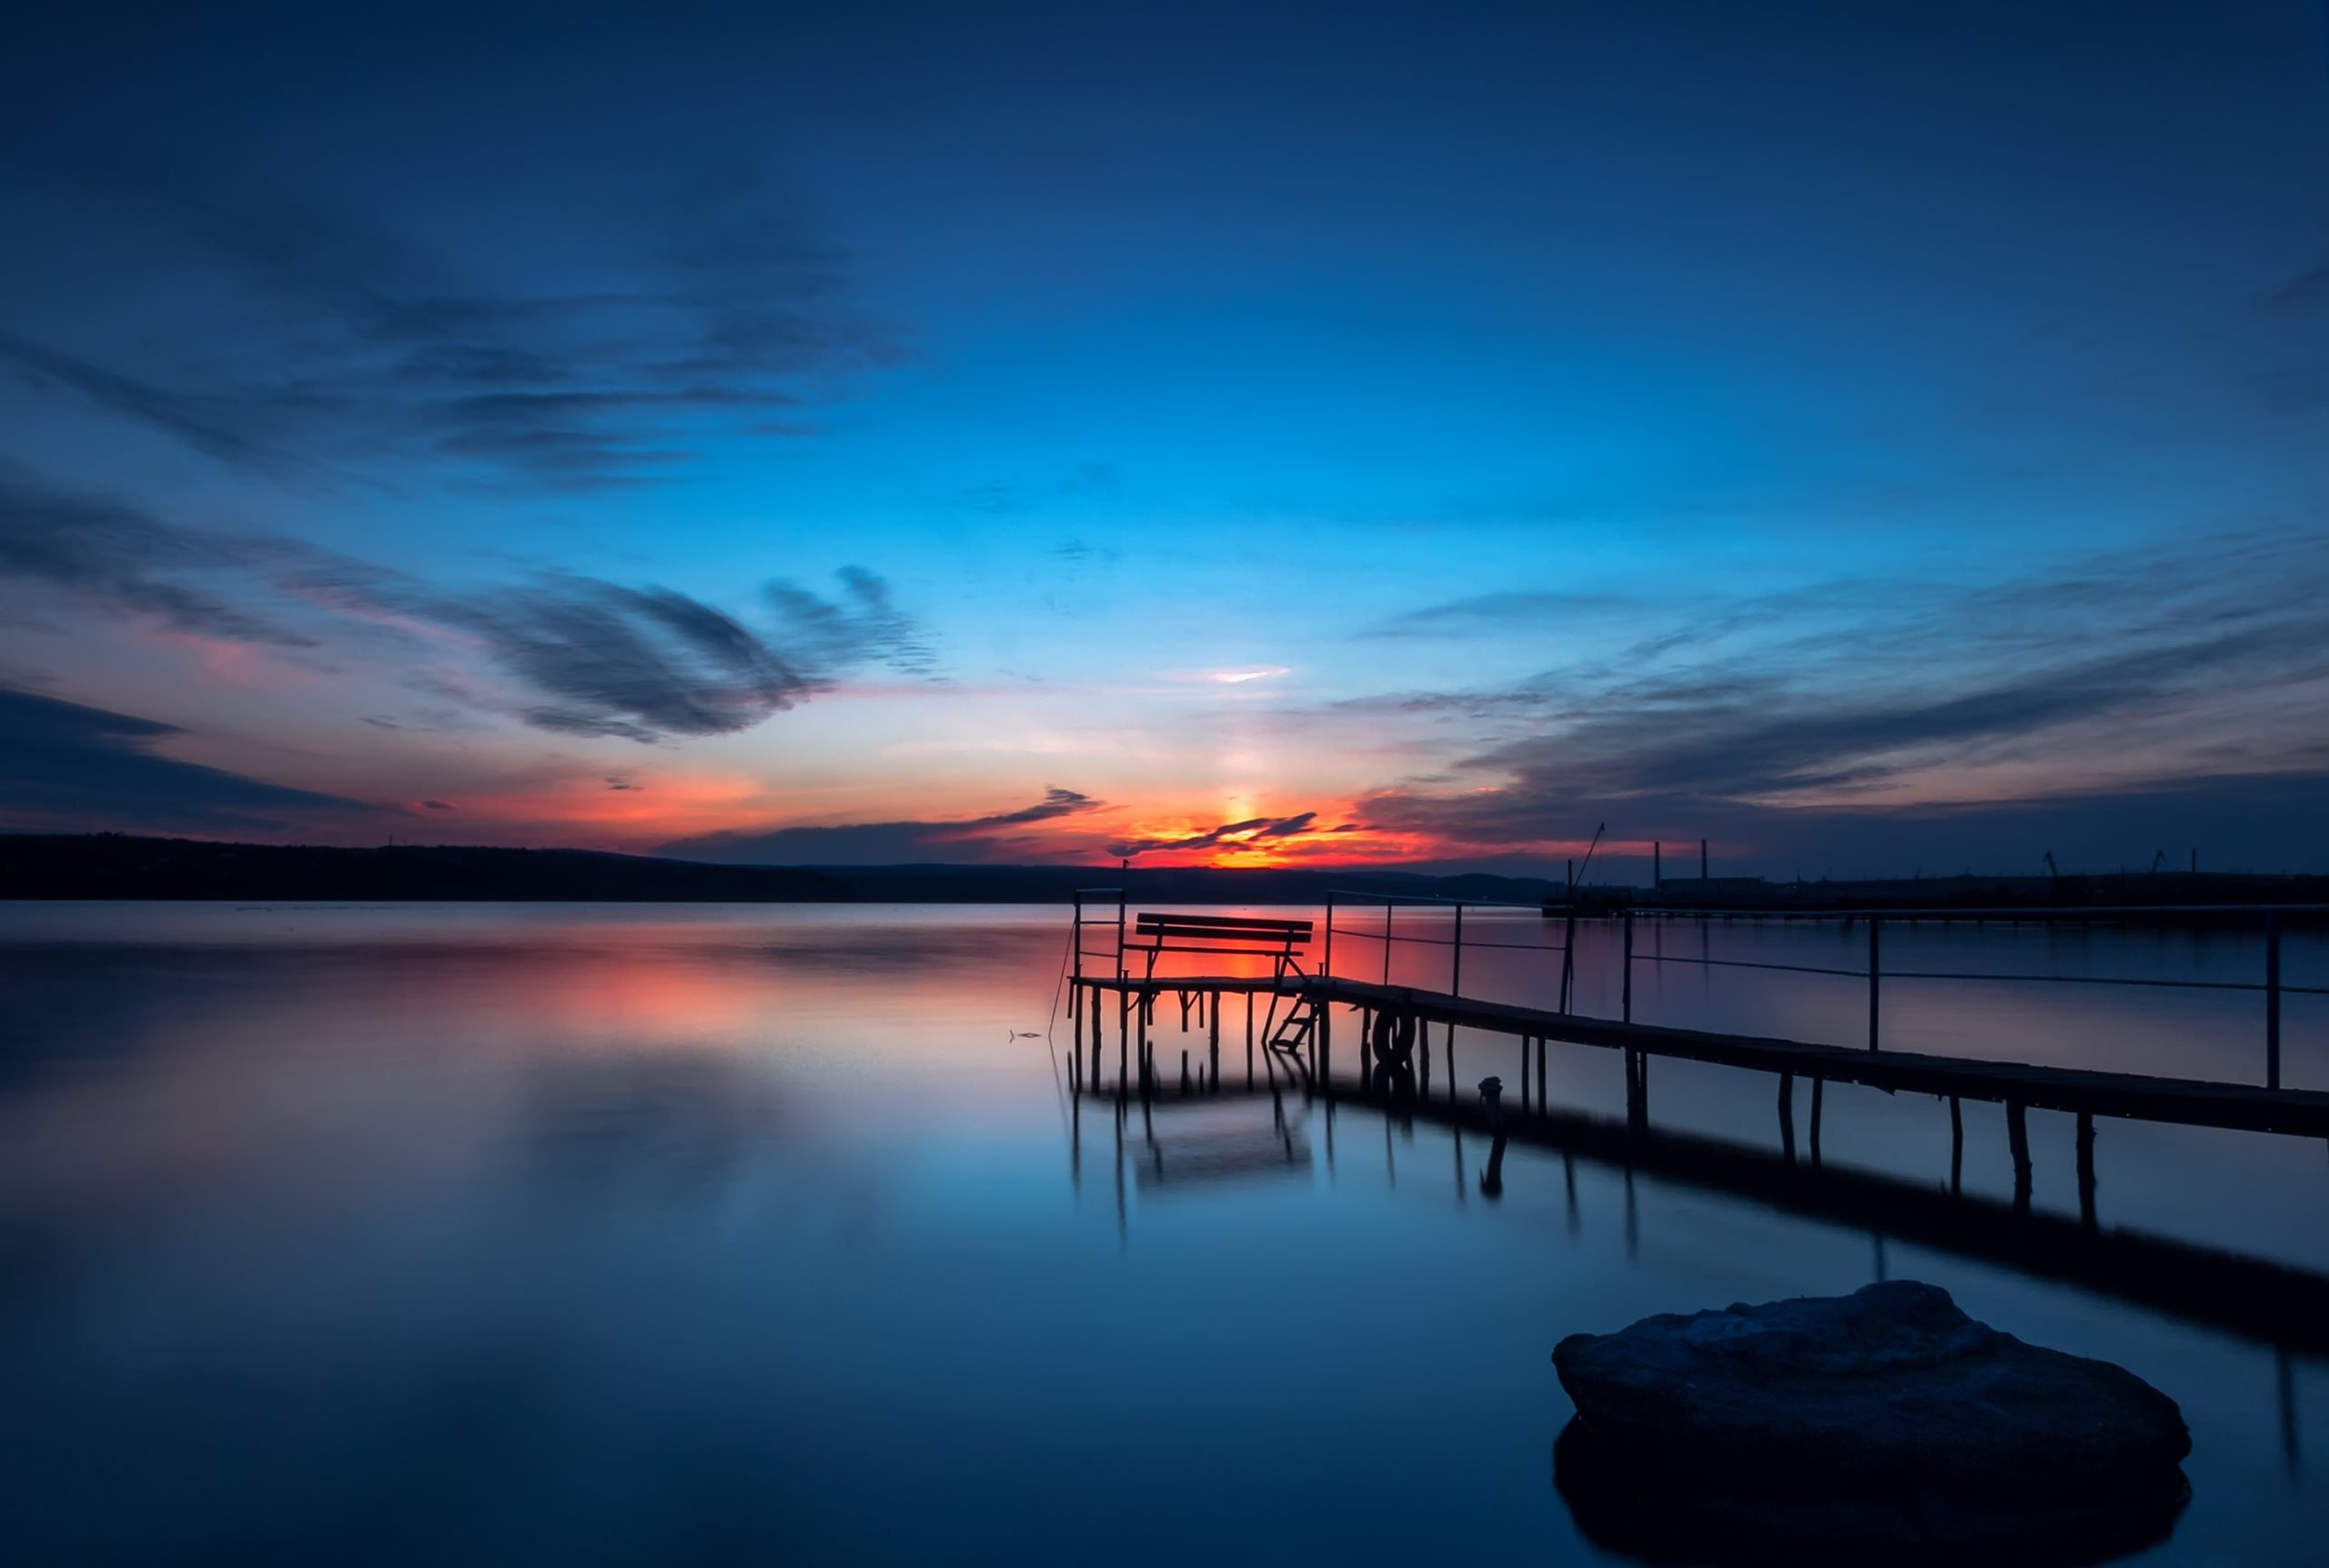
Water reflections provide another dimension of creativity during the blue hour. Seek out lakes, rivers, or harbors where the calm water mirrors the vibrant colors of the sky. The symmetry and depth created by these reflections can transform an ordinary scene into a striking composition. Incorporating boats, piers, or even distant city lights in the water’s reflection can add layers of interest to your photos. Make sure to bring a tripod, as these scenes will look amazing when captured in long exposure.
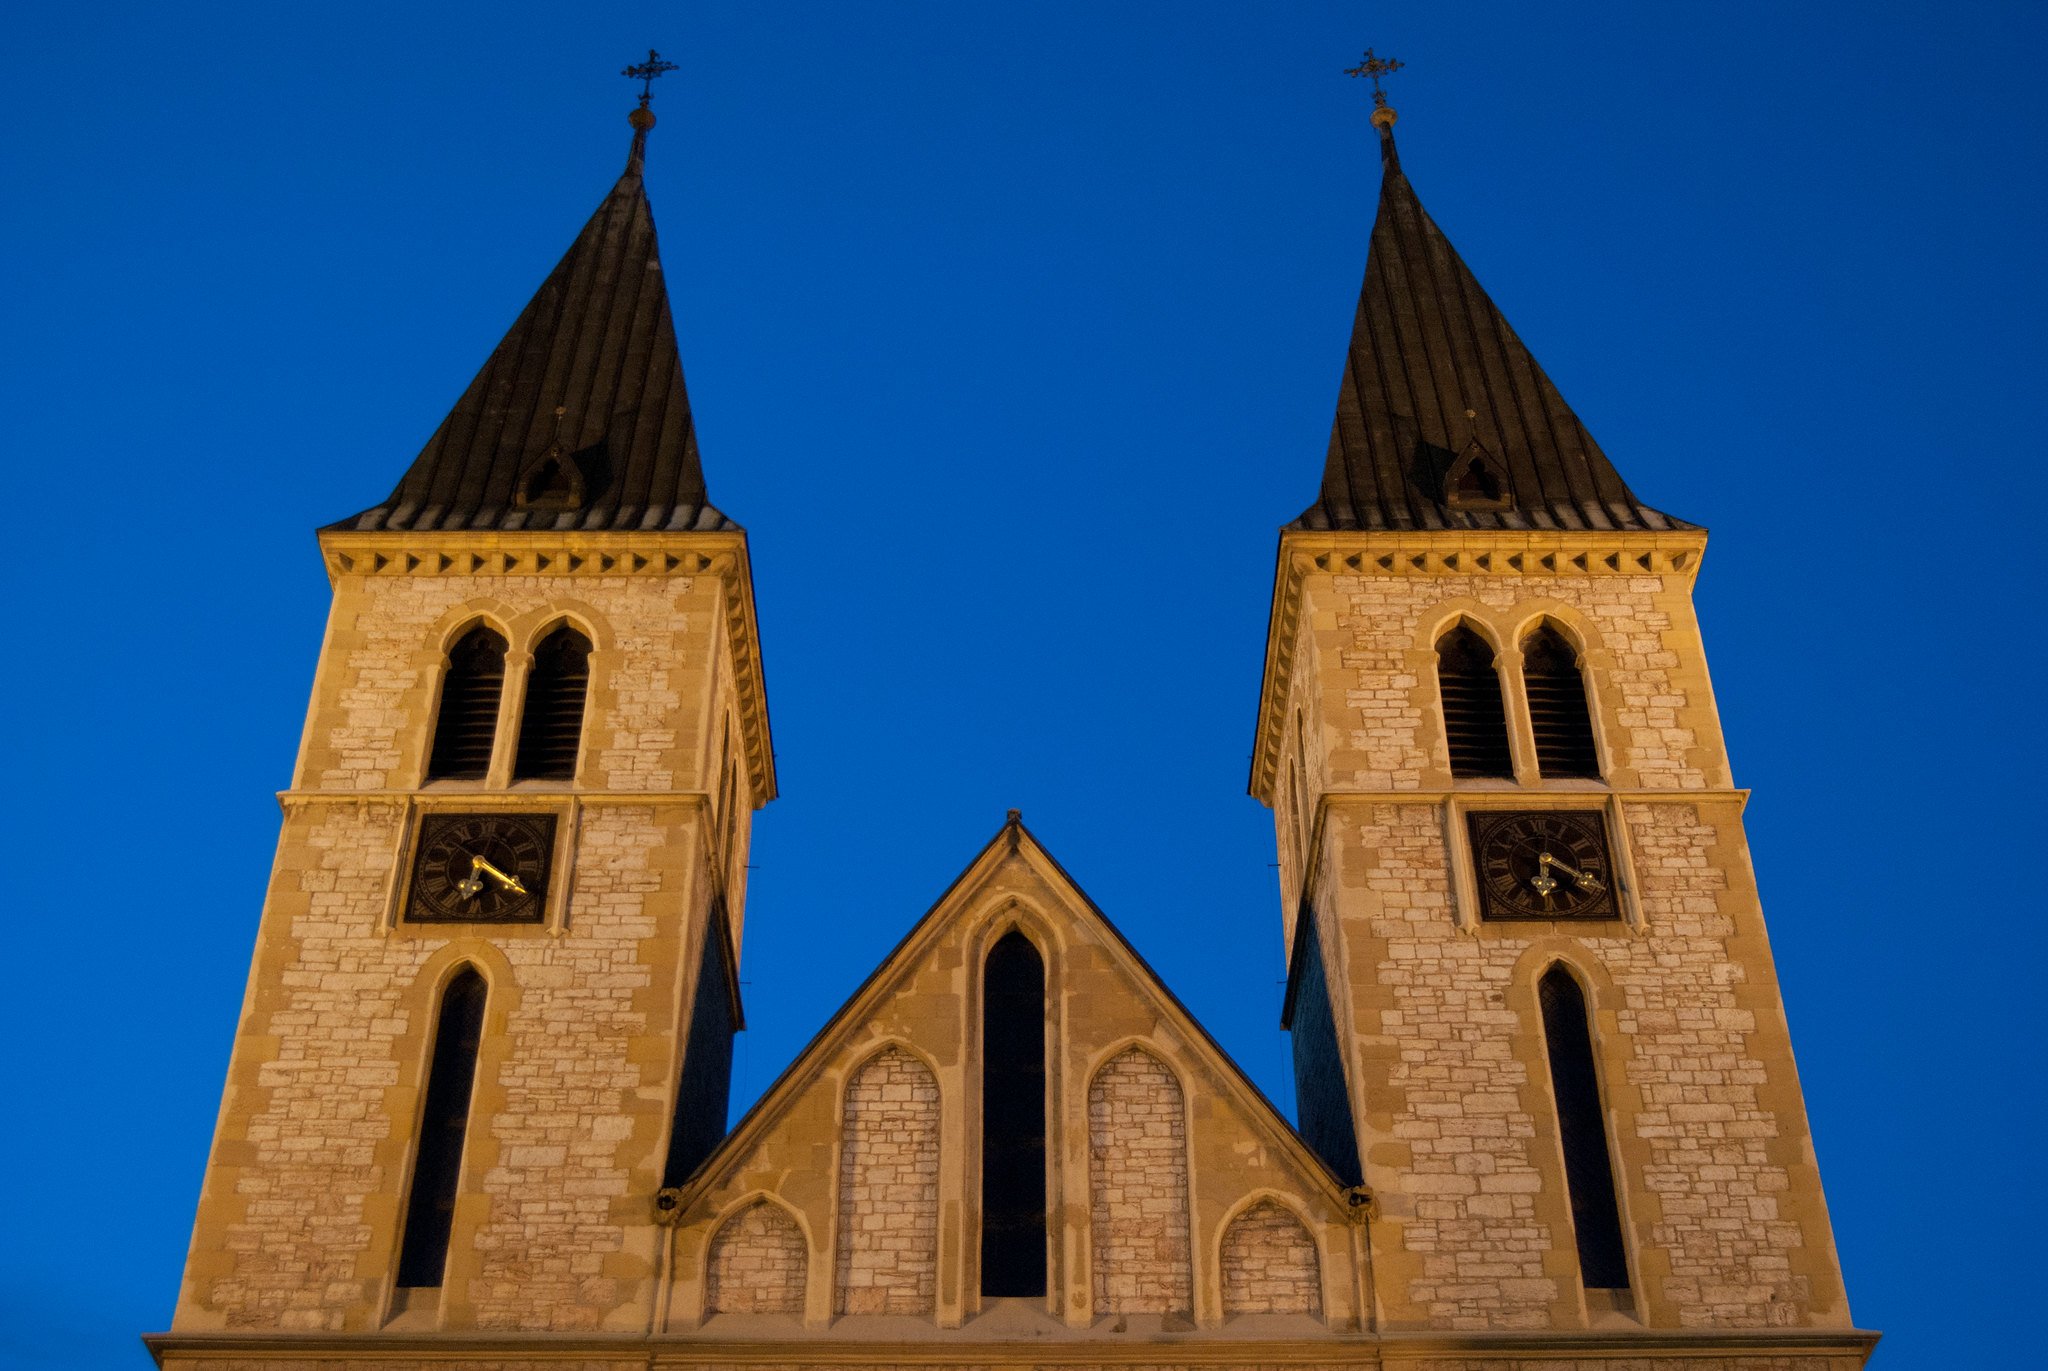
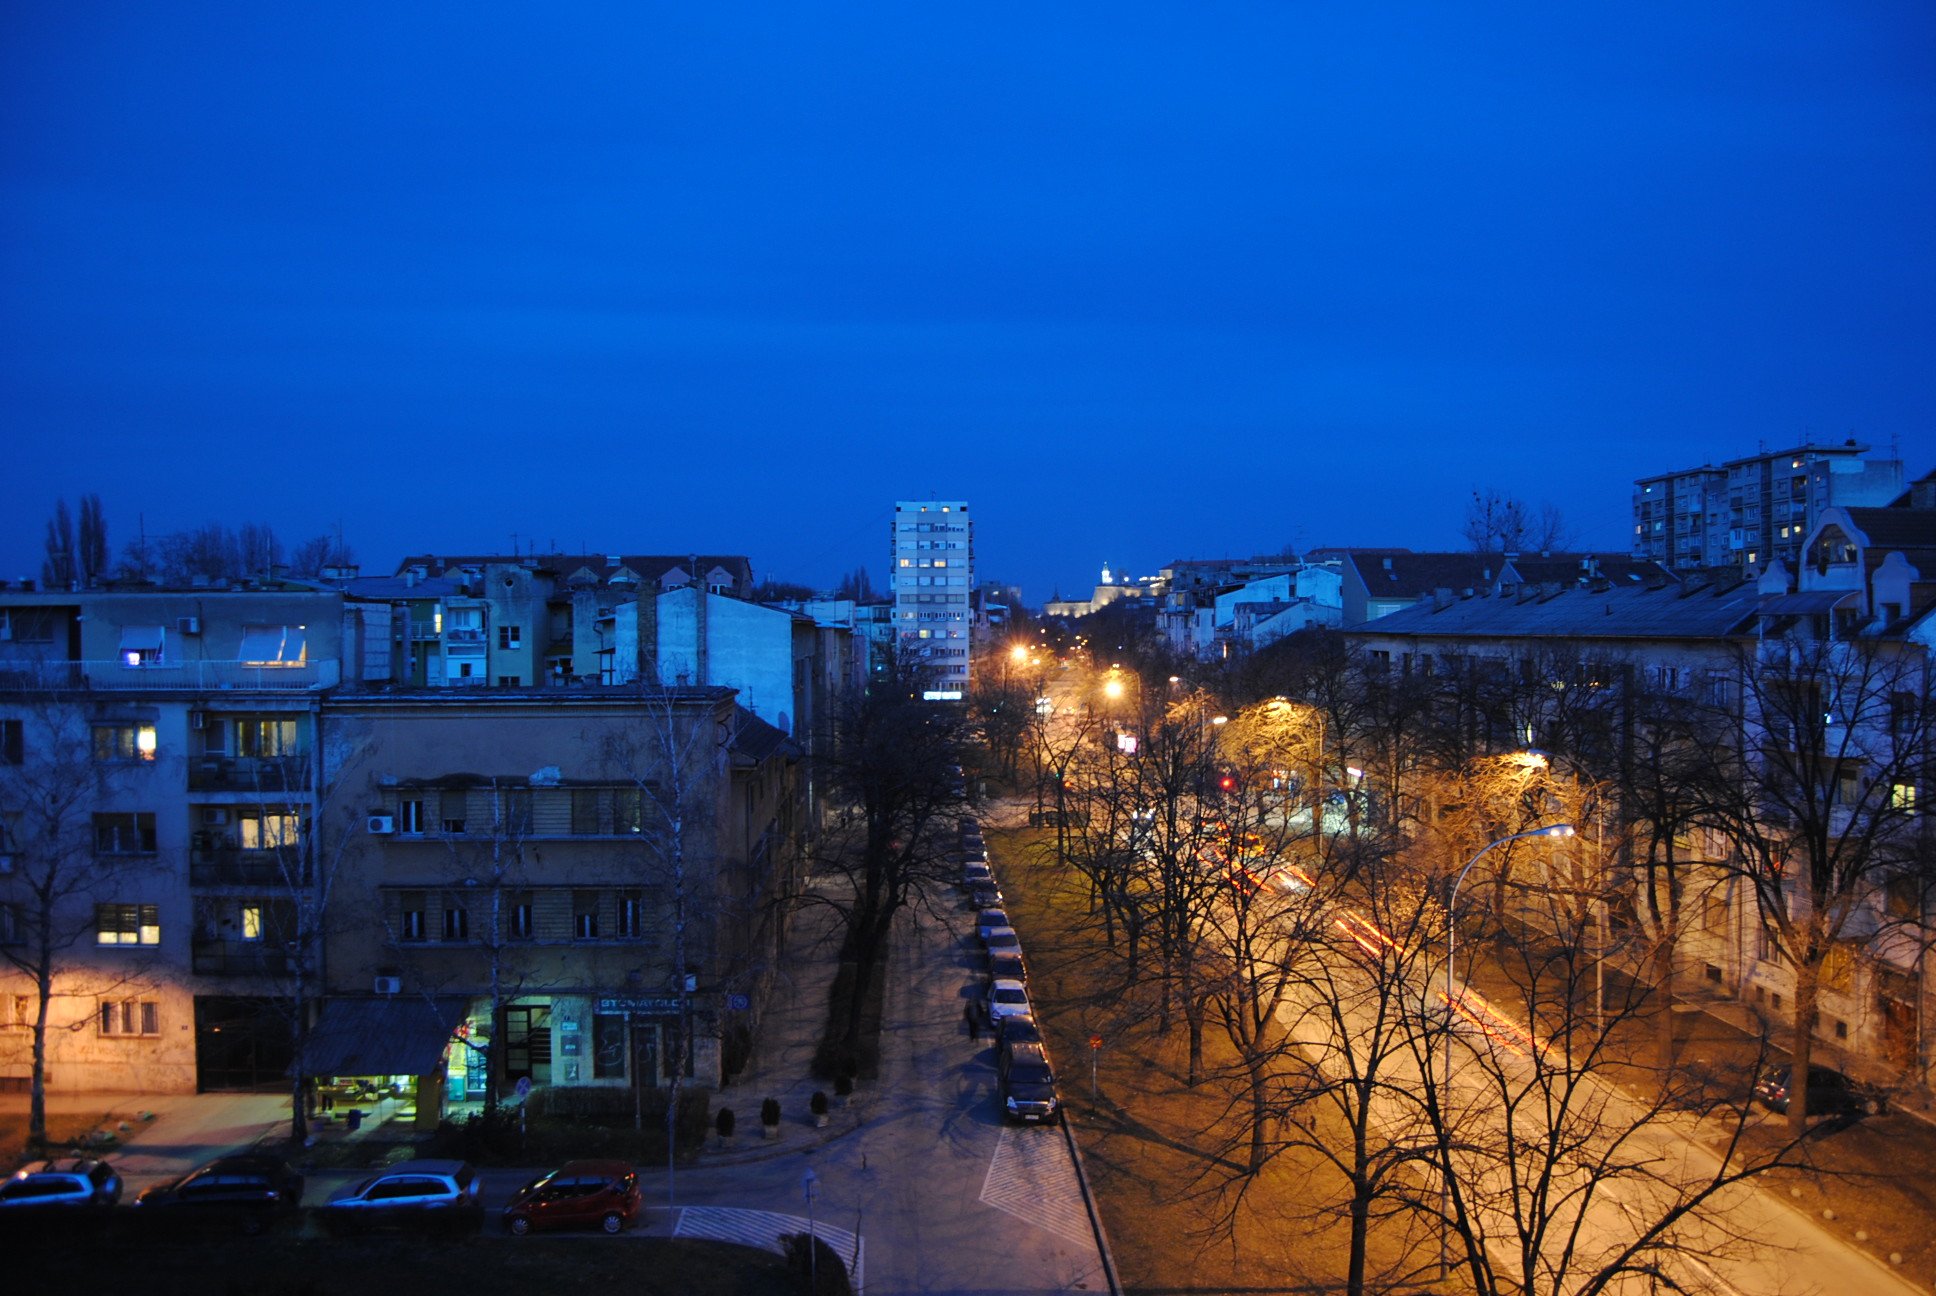
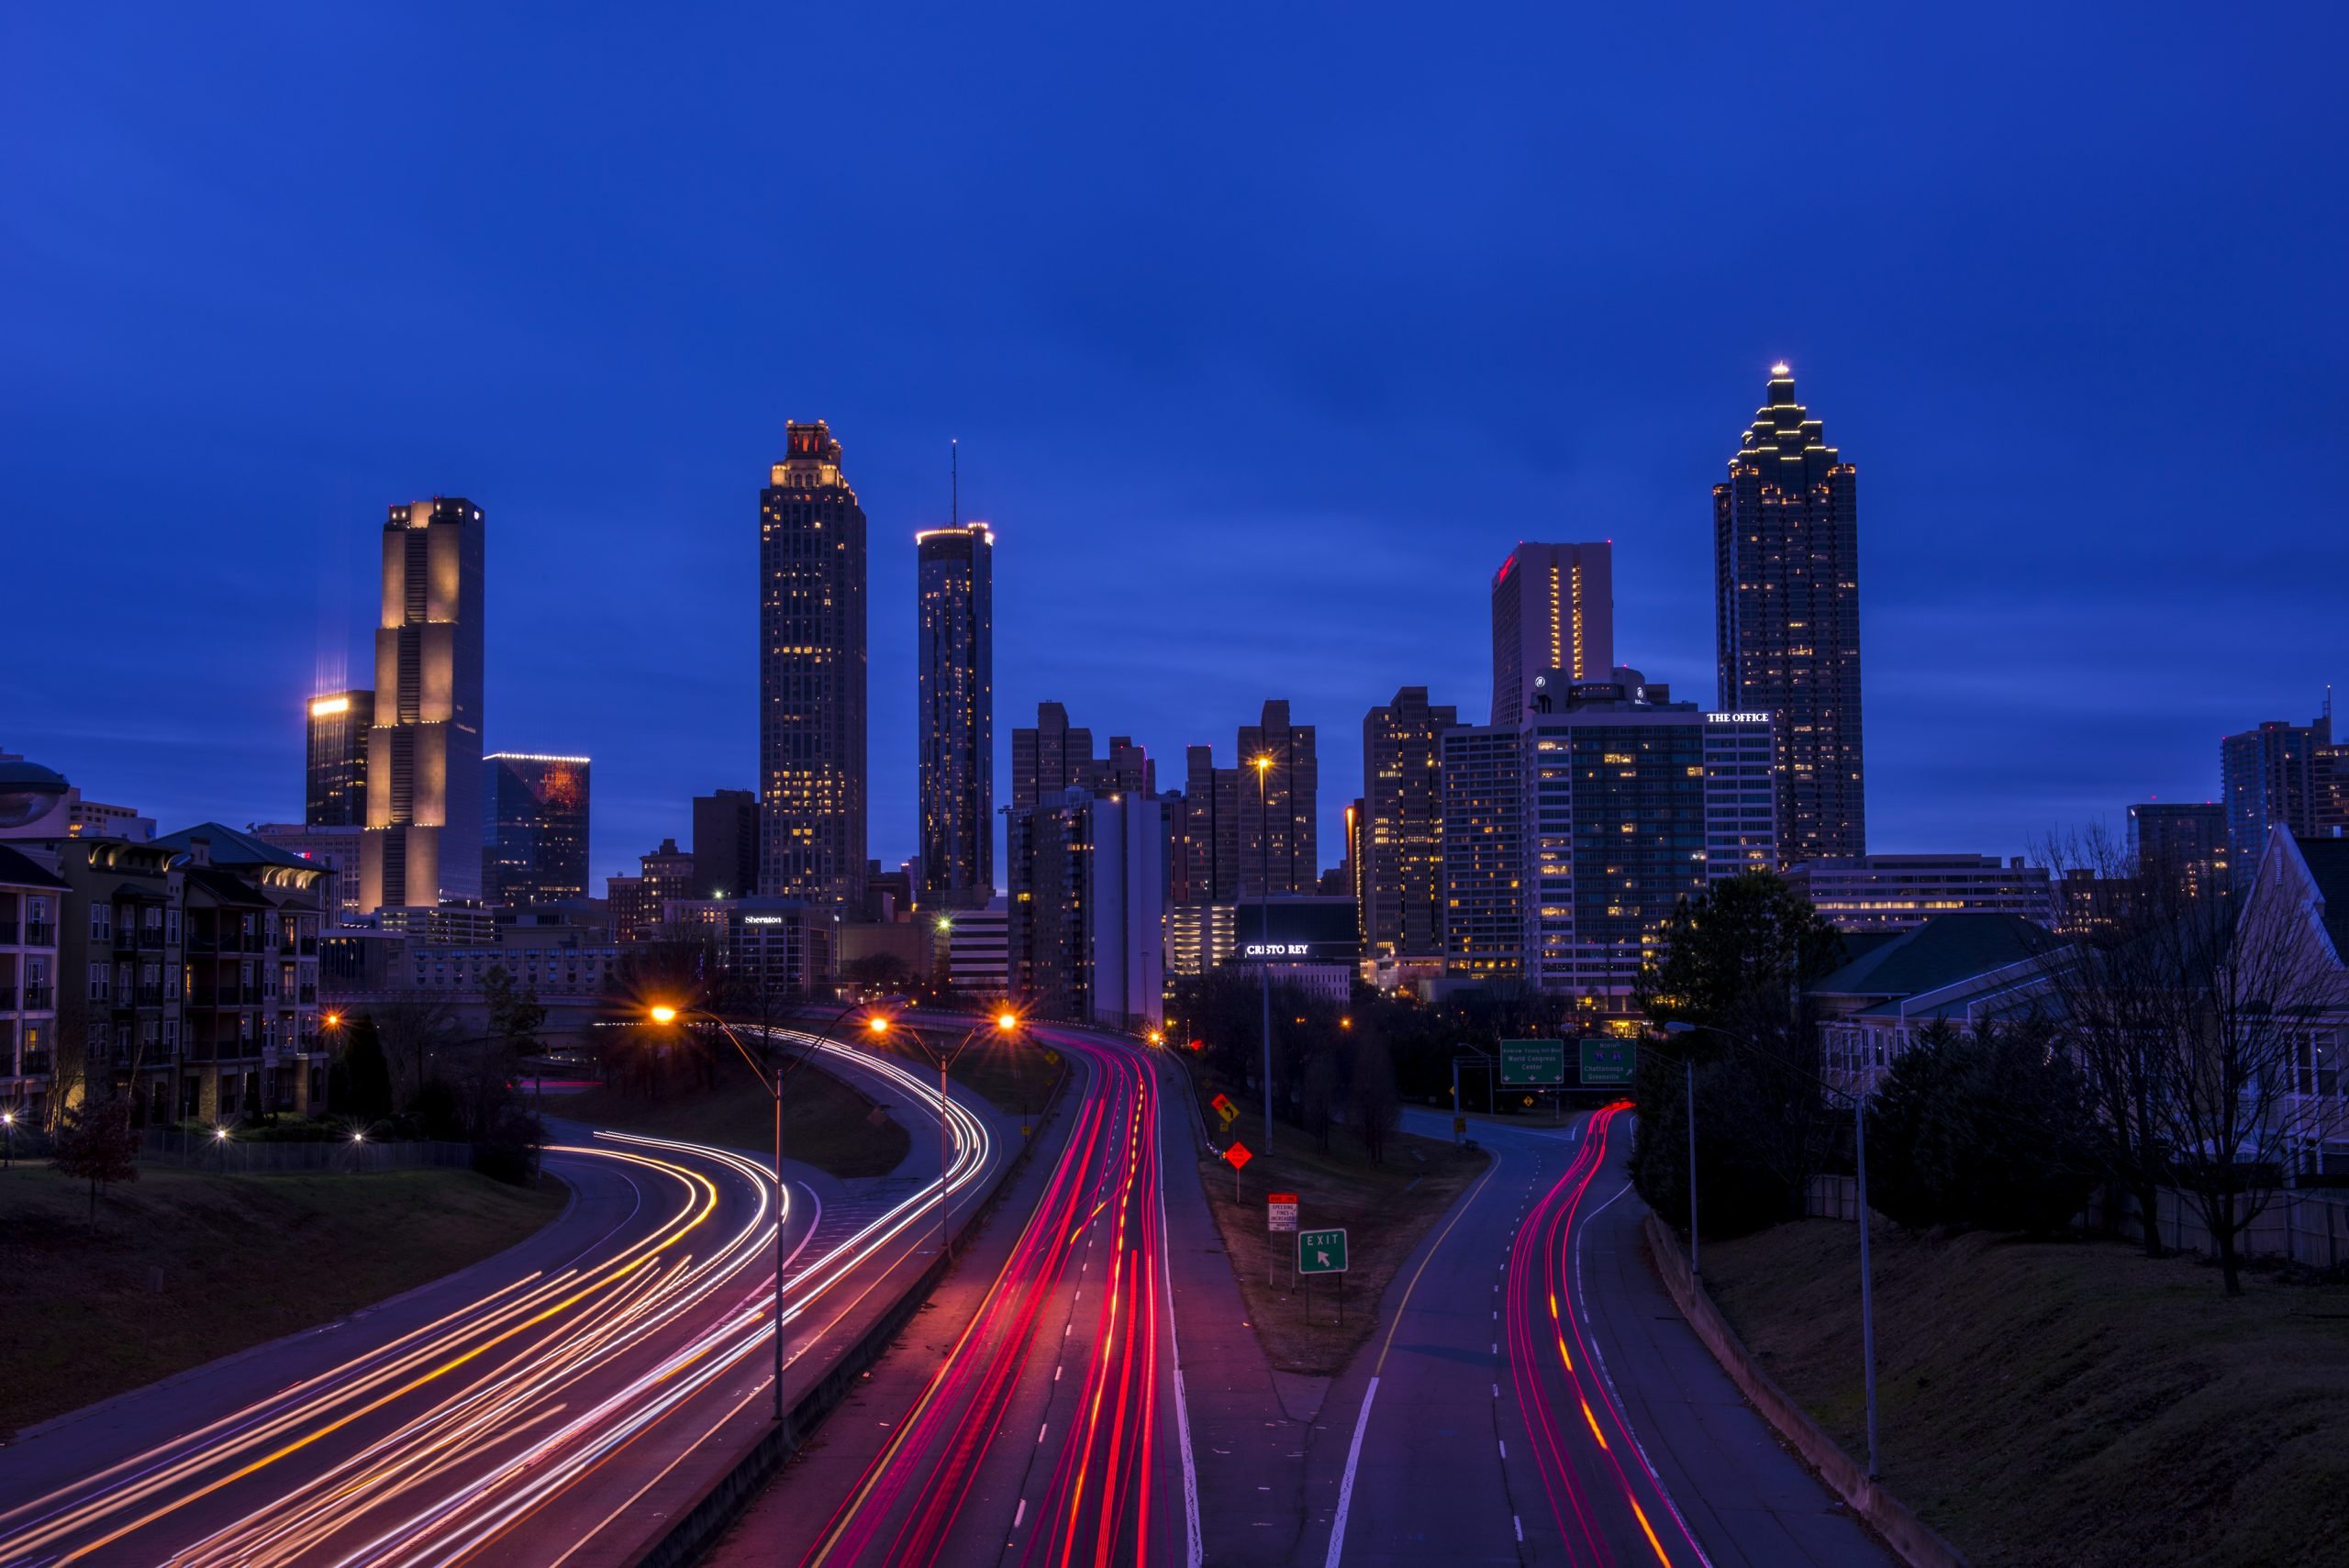
In urban settings, cityscapes and architectural structures become dramatic subjects. The cool blue hues of the sky contrast beautifully with the warm glow of streetlights and illuminated windows as dusk transitions to night. Bridges, historic buildings, and modern skylines all take on a unique character during this time, making them excellent subjects. Architecture during the blue hour often reveals subtle textures and shadows that aren’t visible in harsh daylight. Blue hour photography makes everything look a little bit more magical!
Checking the weather and lighting conditions
Clear skies often provide the best results, but don’t discount partly cloudy conditions. Clouds can add texture and drama to your images, especially when illuminated by residual sunlight. Indirect sunlight during civil twilight can create a beautiful, soft faint light that enhances your composition.
Essential gear and settings for blue hour photography
Recommended gear
A sturdy tripod is the most important piece of gear for blue hour photography. There’s less light in this period of the day, so you’ll likely need to use a bit slower shutter speed to get the result you want. A tripod will allow you to achieve long exposures without any camera shake. Pair this with a wide-angle lens to capture expansive landscapes or dramatic cityscapes. Telephoto lenses can also be useful for isolating details or compressing elements within a scene. Of course, it all depends on your creative choices and your vision.
To further enhance stability, use a remote shutter release or your camera’s 2s timer function. This will prevent any vibration when pressing the shutter. A reliable torch or headlamp can also help you out when setting up in low light conditions. Of course, you can always forget it at home and rely on your smartphone’s flashlight, don’t ask how I know.
Camera settings
Shooting in manual mode gives you full control over your camera settings, which is vital during the blue hour. Begin with an aperture that’s your lens’ sweet spot (usually around f/8 to f/11) and a low ISO, such as 100-400, to minimize noise. Adjust your shutter speed based on the scene’s lighting conditions. Remember the exposure triangle—if you change one setting, compensate with adjustments to the others to maintain a balanced exposure. Faster shutter speeds can freeze subtle motions, while longer exposures capture dreamy effects like flowing water or passing clouds. I strongly suggest you shoot in RAW rather than JPG to allow for extensive adjustments during post-processing.
Composition tips and creative techniques
Framing the scene
Framing your scene effectively can elevate your blue hour photography. Leading lines, like roads, fences, or rivers, guide the viewer’s eye through the image. Silhouettes and reflections add intrigue and contrast, while balancing foreground and background elements ensures a cohesive composition. The cool blue tones of the sky serve as a perfect backdrop for your subjects.
Using light and color
Blue hour light is naturally soft and rich, making it ideal for capturing mood and atmosphere. To enhance these tones, avoid overexposing your shots. Consider adding artificial light sources, such as streetlights or handheld LEDs, to create contrast and depth. Light painting is another creative technique—use a flashlight to selectively illuminate parts of your scene for artistic effect.
Capturing movement
Long exposures during the blue hour can beautifully capture motion, such as flowing water or drifting clouds. Adjust your shutter speed to achieve the desired effect—slower speeds create dreamy blurs, while faster speeds freeze motion. Experiment with different settings to find the look that complements your scene.
Advanced techniques
Bracketing and HDR photography
In high-contrast scenes, bracketing is invaluable. Take multiple exposures at different settings to capture detail in both highlights and shadows. Combine these images in post-processing to create a balanced result with rich tonal range. HDR techniques are particularly useful for bringing out the full potential of the blue hour’s light – just make sure to do it properly.
Mastering white balance
White balance plays a significant role in the overall feel of your images. In my opinion, it’s the toughest bit to get right while shooting in the blue hour light. During this time, it can be a little tricky since the lighting is so blue-tinted. Auto white balance can sometimes work, but it’s often better to customize for consistent results. I suggest you set it manually using a grey card, but you can also always experiment during post-processing to ensure accurate colors and to match your artistic vision.
Go ahead and experiment with cooler or warmer tones to evoke specific moods. Note that a cooler white balance emphasizes the blue hour’s natural hues.
Post-processing tips
As I mentioned, you can play with white balance in post to get it just right. But post-processing allows you to do so much more. Begin by fine-tuning exposure, contrast, and saturation to bring out the scene’s details and colors. You can also use noise reduction tools to address noise in low-light shots (I swear by Lightroom Classic’s Denoise tool, but there are other options as well, like Topaz Denoise). When adjusting colors, aim for a natural look that highlights the blue hour’s unique tones without overediting.
Challenges in blue hour photography and how to overcome them
Low-light focus issues and solutions
Focusing in low light conditions can be challenging, especially with older cameras. I suggest switching to manual focus or using your camera’s live view feature to achieve the best results. If your lens has focus peaking, turn it on to assist with precision. If you’re photographing a nearby subject, using a flashlight or torch to illuminate it briefly can help your camera lock focus.
Handling noise at higher ISOs
While keeping your ISO low minimizes noise, sometimes higher settings are necessary in dim conditions. As I mentioned above, you can rely on denoise tools to reduce noise while preserving details. Or you can just leave it there for character. :)
Dealing with unpredictable lighting changes
As previously mentioned, the blue hour lasts pretty short, and light levels shift quickly during this period of time. This is why being prepared and staying aware of the conditions is crucial. Check your exposure frequently (read your histogram) and make adjustments as needed. And once again, remember that shooting in RAW format provides greater flexibility in post, allowing you to recover details from shadows and highlights.
Conclusion
The blue hour offers an enchanting canvas for photographers, whether you’re shooting landscapes, cityscapes, or portraits. Great blue hour photography is within reach, and all it takes is a bit of planning, the right settings, and thoughtful composition at this fleeting window of time. I believe we’ve covered all of it here, and now it’s up to you to go out and shoot. Be creative, have fun, and enjoy this magical, peaceful time of day while you’re at it.
The blue hour is the period of twilight just before sunrise or after sunset when the sun is below the horizon, and the sky takes on a deep blue hue.
The golden hour and blue hour are both prized times of day for photography but differ in light quality and timing. The golden hour occurs shortly after sunrise or before sunset, characterized by warm, golden light with long, soft shadows. The blue hour happens just before sunrise or after sunset, offering cooler, diffused light with a tranquil blue tone.
The blue hour occurs twice a day, during the twilight periods: in the morning just before sunrise and in the evening just after sunset time. The exact timing depends on the time of year and your location. It typically lasts 20 to 40 minutes when the sun is between 4 and 8 degrees below the horizon.

Dunja Djudjic
Dunja Djudjic is a multi-talented artist based in Novi Sad, Serbia. With 15 years of experience as a photographer, she specializes in capturing the beauty of nature, travel, and fine art. In addition to her photography, Dunja also expresses her creativity through writing, embroidery, and jewelry making.


Join the Discussion
DIYP Comment Policy
Be nice, be on-topic, no personal information or flames.