What is exposure in photography?
Dec 19, 2024
Dunja Djudjic
Dunja Djudjic is a multi-talented artist based in Novi Sad, Serbia. With 15 years of experience as a photographer, she specializes in capturing the beauty of nature, travel, and fine art. In addition to her photography, Dunja also expresses her creativity through writing, embroidery, and jewelry making.
Share:
Exposure is a foundational concept in photography, and even if you’re a brand new photographer, you’ve heard of it. A camera’s iconic “click” when taking a photo marks the moment its mirror flips to let light hit the sensor. This is, basically, the exposure process. While it sounds simple, mastering it involves balancing three essential elements: aperture, shutter speed, and ISO. In this guide, we will dive deeper into exposure and all of its related concepts. It will help you to handle any lighting condition and situation confidently and create marvelous photos!
Table of contents
Basically, “exposure” refers to how much light reaches your camera’s sensor (or film for the analog aficionados). In essence, this light gathering is what creates the image. After all, “photography” originally means “drawing with light.” The amount of light hitting the sensor ultimately determines its brightness, detail, and the overall mood. Sounds a bit mode complex now, doesn’t it? Worry not, we got you. Let us start with one of the key concepts tightly related to exposure: the exposure triangle.
Understanding the exposure triangle
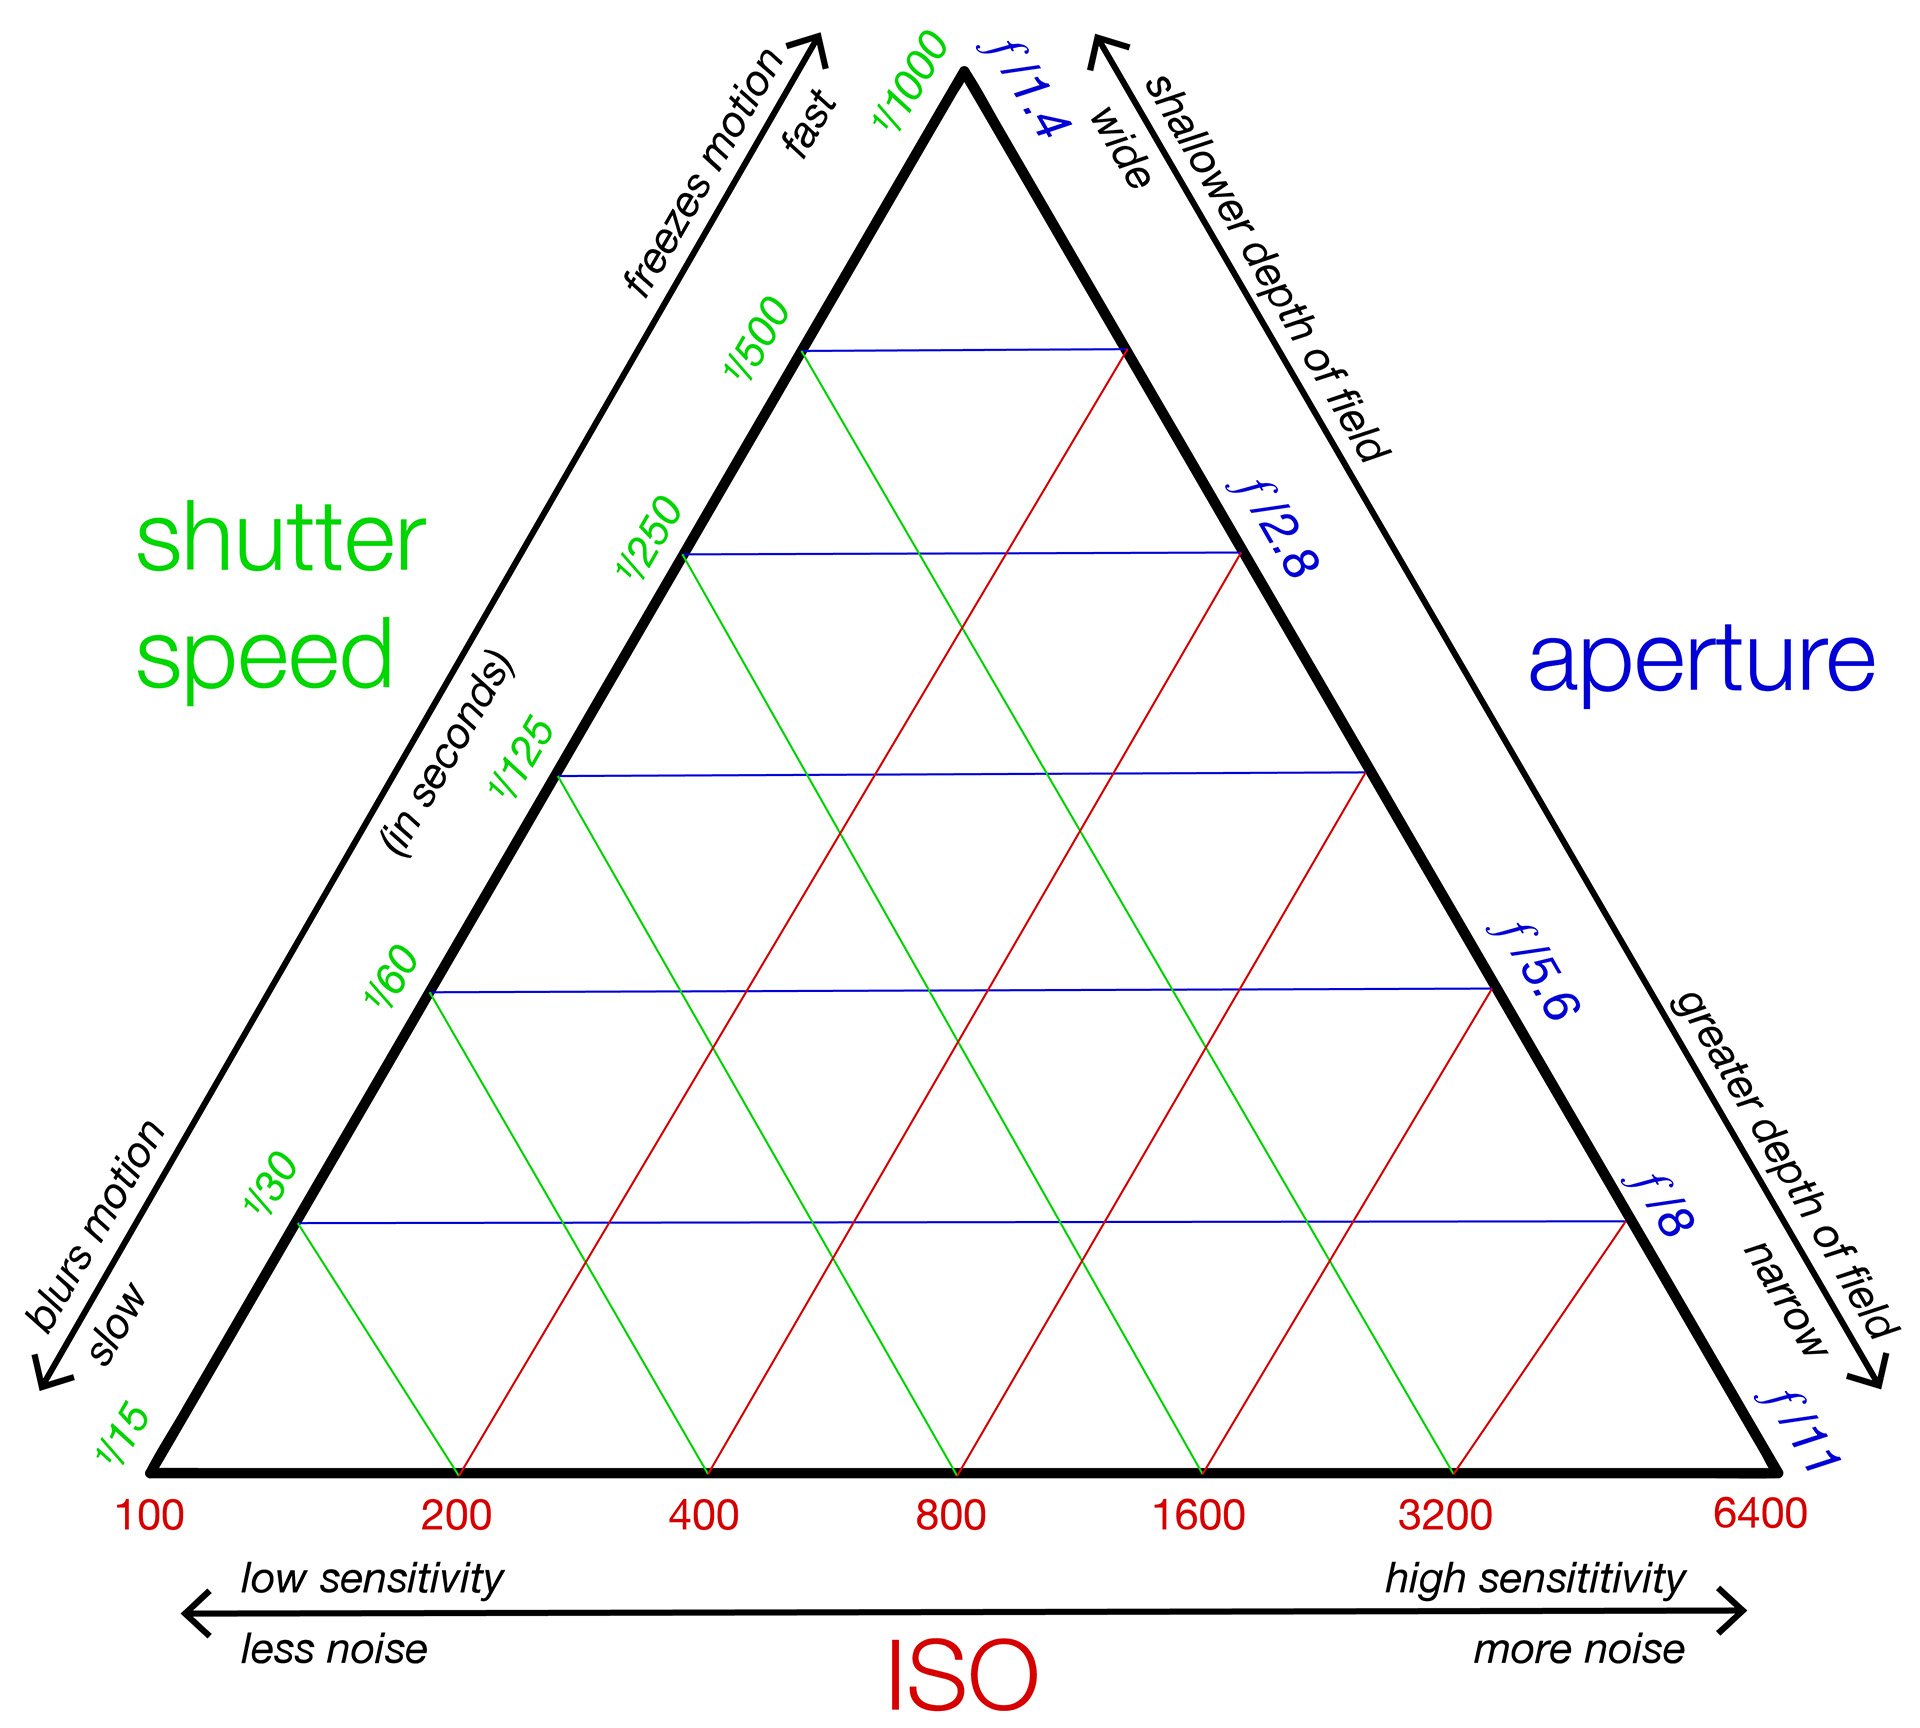
As I mentioned in the intro, the exposure settings revolve around three basic concepts: aperture, shutter speed, and ISO. Adjusting one often requires changes in the others to maintain the right exposure. And by “right exposure,” I mean a photo that is neither too bright nor too dark, with details preserved in both the highlights and the shadows. We can usually read this from a histogram. Of course, there are artistic choices that let you take brighter or darker photos, but we won’t dive into those today.
These three basic settings don’t only influence exposure in photography. They also influence the aesthetic aspects of your images. These include depth of field, motion blur, and noise. But let’s break them down now so it all makes more sense.
Aperture
Aperture refers to the size of the lens opening through which light enters. Measured in f-stops (e.g., f/2.8, f/11), smaller f-stop numbers indicate larger apertures, letting in more light. Larger apertures (e.g., f/1.8) create a shallow depth of field, making them ideal for portraits. Conversely, smaller apertures (e.g., f/16) offer greater depth of field, perfect for landscape photography.
Creative tip: Aperture setting largely influences the look of your image. Large apertures create soft, blurred background and dreamy bokeh. Smaller apertures excel in keeping everything sharp throughout the image.
Shutter speed
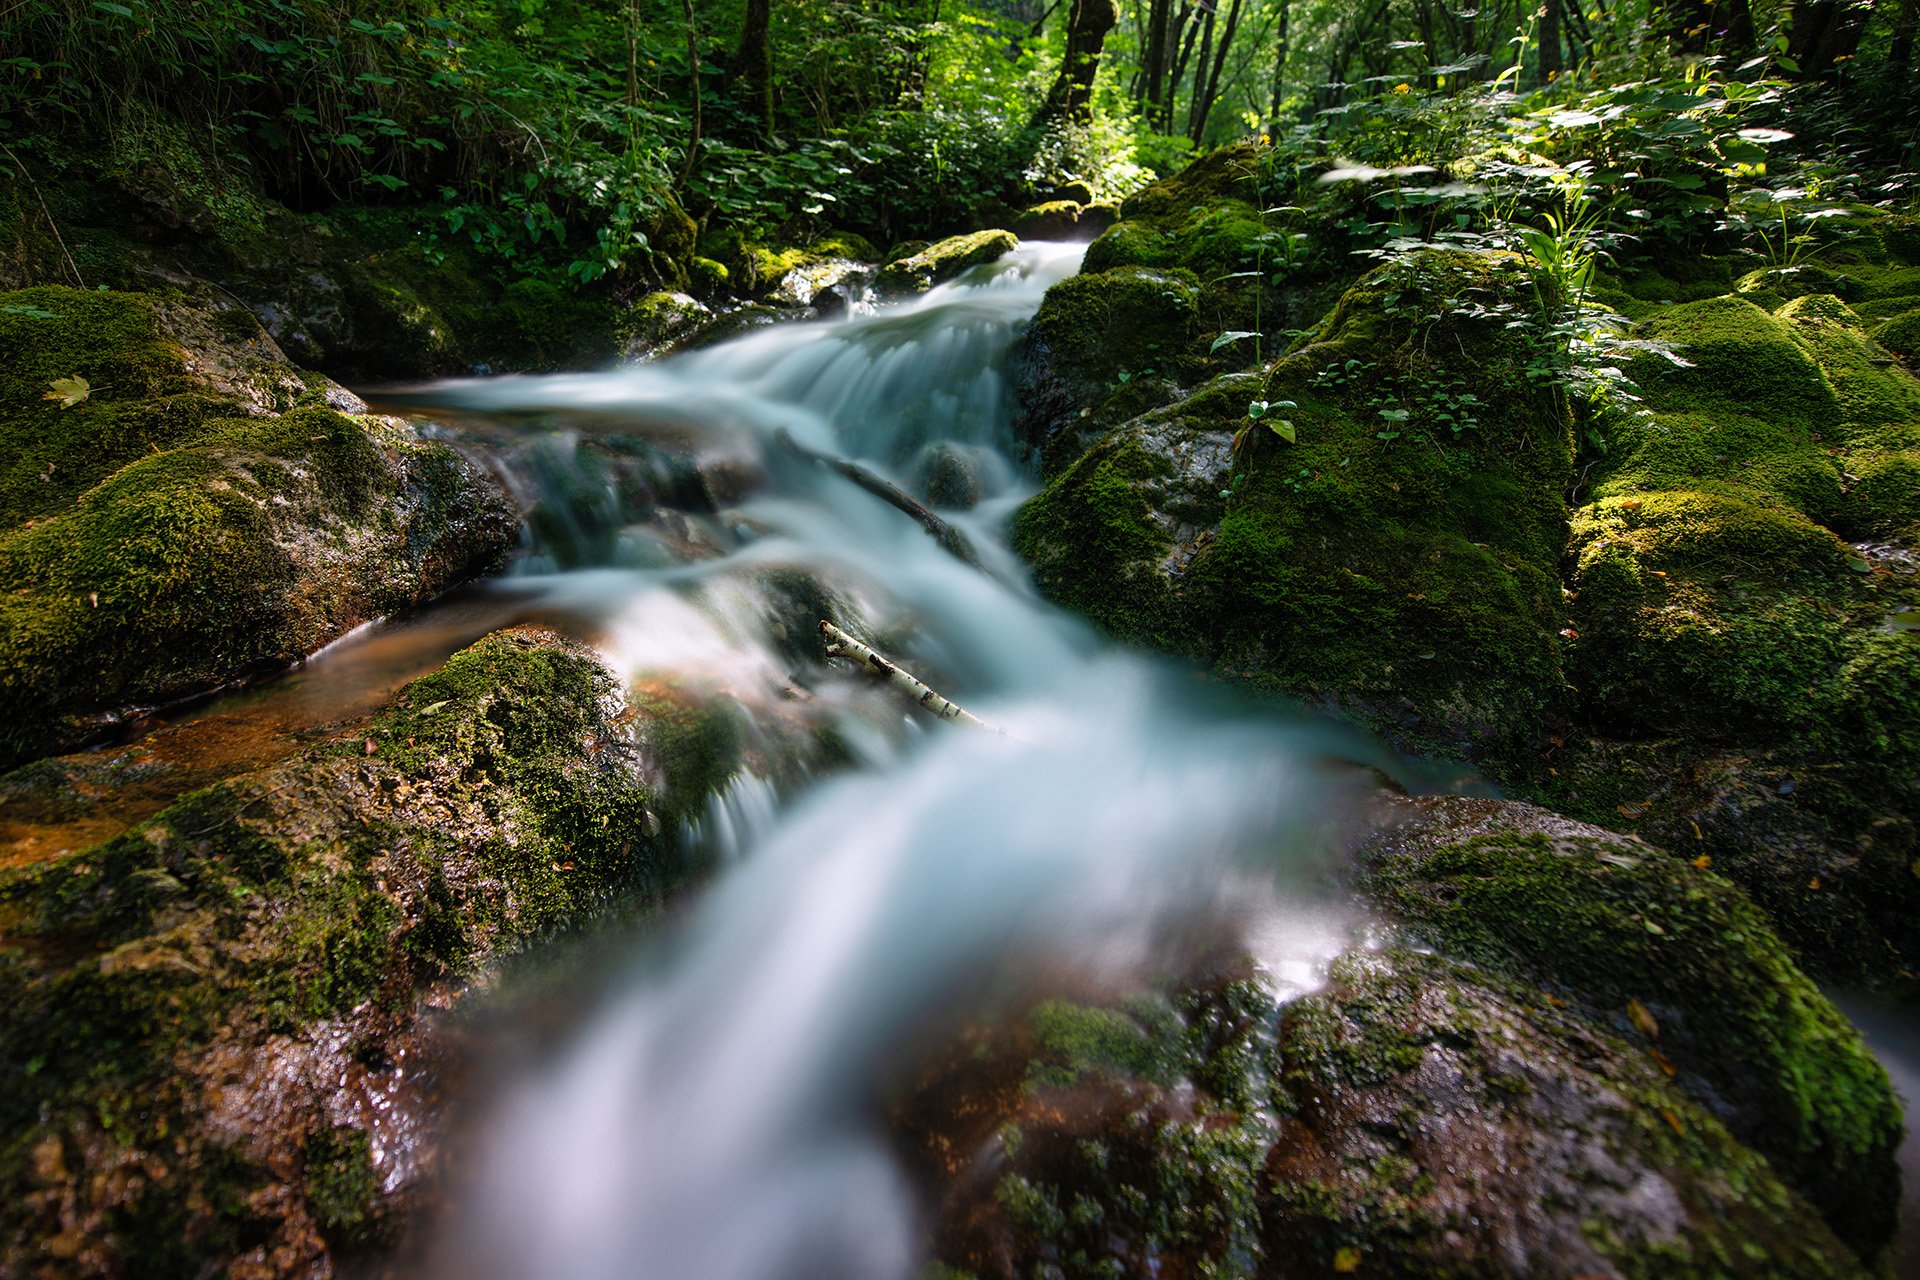
Shutter speed controls how long the camera’s shutter remains open, allowing light to hit the sensor. It’s measured in seconds, or more commonly – fractions of a second (e.g., 1/1000 or 1/30). Fast shutter speeds freeze motion; and they’re often used in sports, wildlife, or concert photography. Slow shutter speeds capture motion blur, as seen in nighttime or water photography. You know those dreamy photos of “milky” waterfalls or cloud-like oceans? That’s long exposure.
Creative tip: During slower shutter speeds, camera shake will become noticeable, ruining your shots. To avoid this, make sure to use a tripod.
ISO
ISO indicates the sensor’s sensitivity to light. Lower ISO settings (e.g., ISO 100) reduce noise and are best for bright conditions, while higher ISOs (e.g., ISO 3200) are useful for low-light scenarios but can introduce noise. Noise, in this context, is that grainy, “dotty” look in your digital images. It doesn’t have to be a bad thing, though – it’s often an artistic choice, and you’ll often see it in film photography. Many photographers even try to recreate this noise in post-processing, wanting their digital images to look like film.
Creative tip: Adjust the ISO last! When the aperture and shutter speed can’t balance the light enough, making the image too dark (underexposure), start increasing the ISO until you reach the correct exposure for your photography.
The Reciprocity Rule: Balancing the triangle
The reciprocity rule states that increasing light in one triangle element requires reducing it in another to maintain the same exposure. For instance, switching from ISO 100 to ISO 200 doubles the sensor’s sensitivity to light. To compensate, you could halve the shutter speed or use a smaller aperture to avoid overexposure.
This analogy could be helpful – think of exposure as filling a pool with water:
- Aperture = Pipe diameter.
- Shutter speed = How long the faucet runs.
- ISO = Water pressure.
To maintain a consistent water level, if the pipe size (aperture) increases, the faucet runs for less time (shutter speed) or at lower pressure (ISO).

Achieving the correct exposure in photography
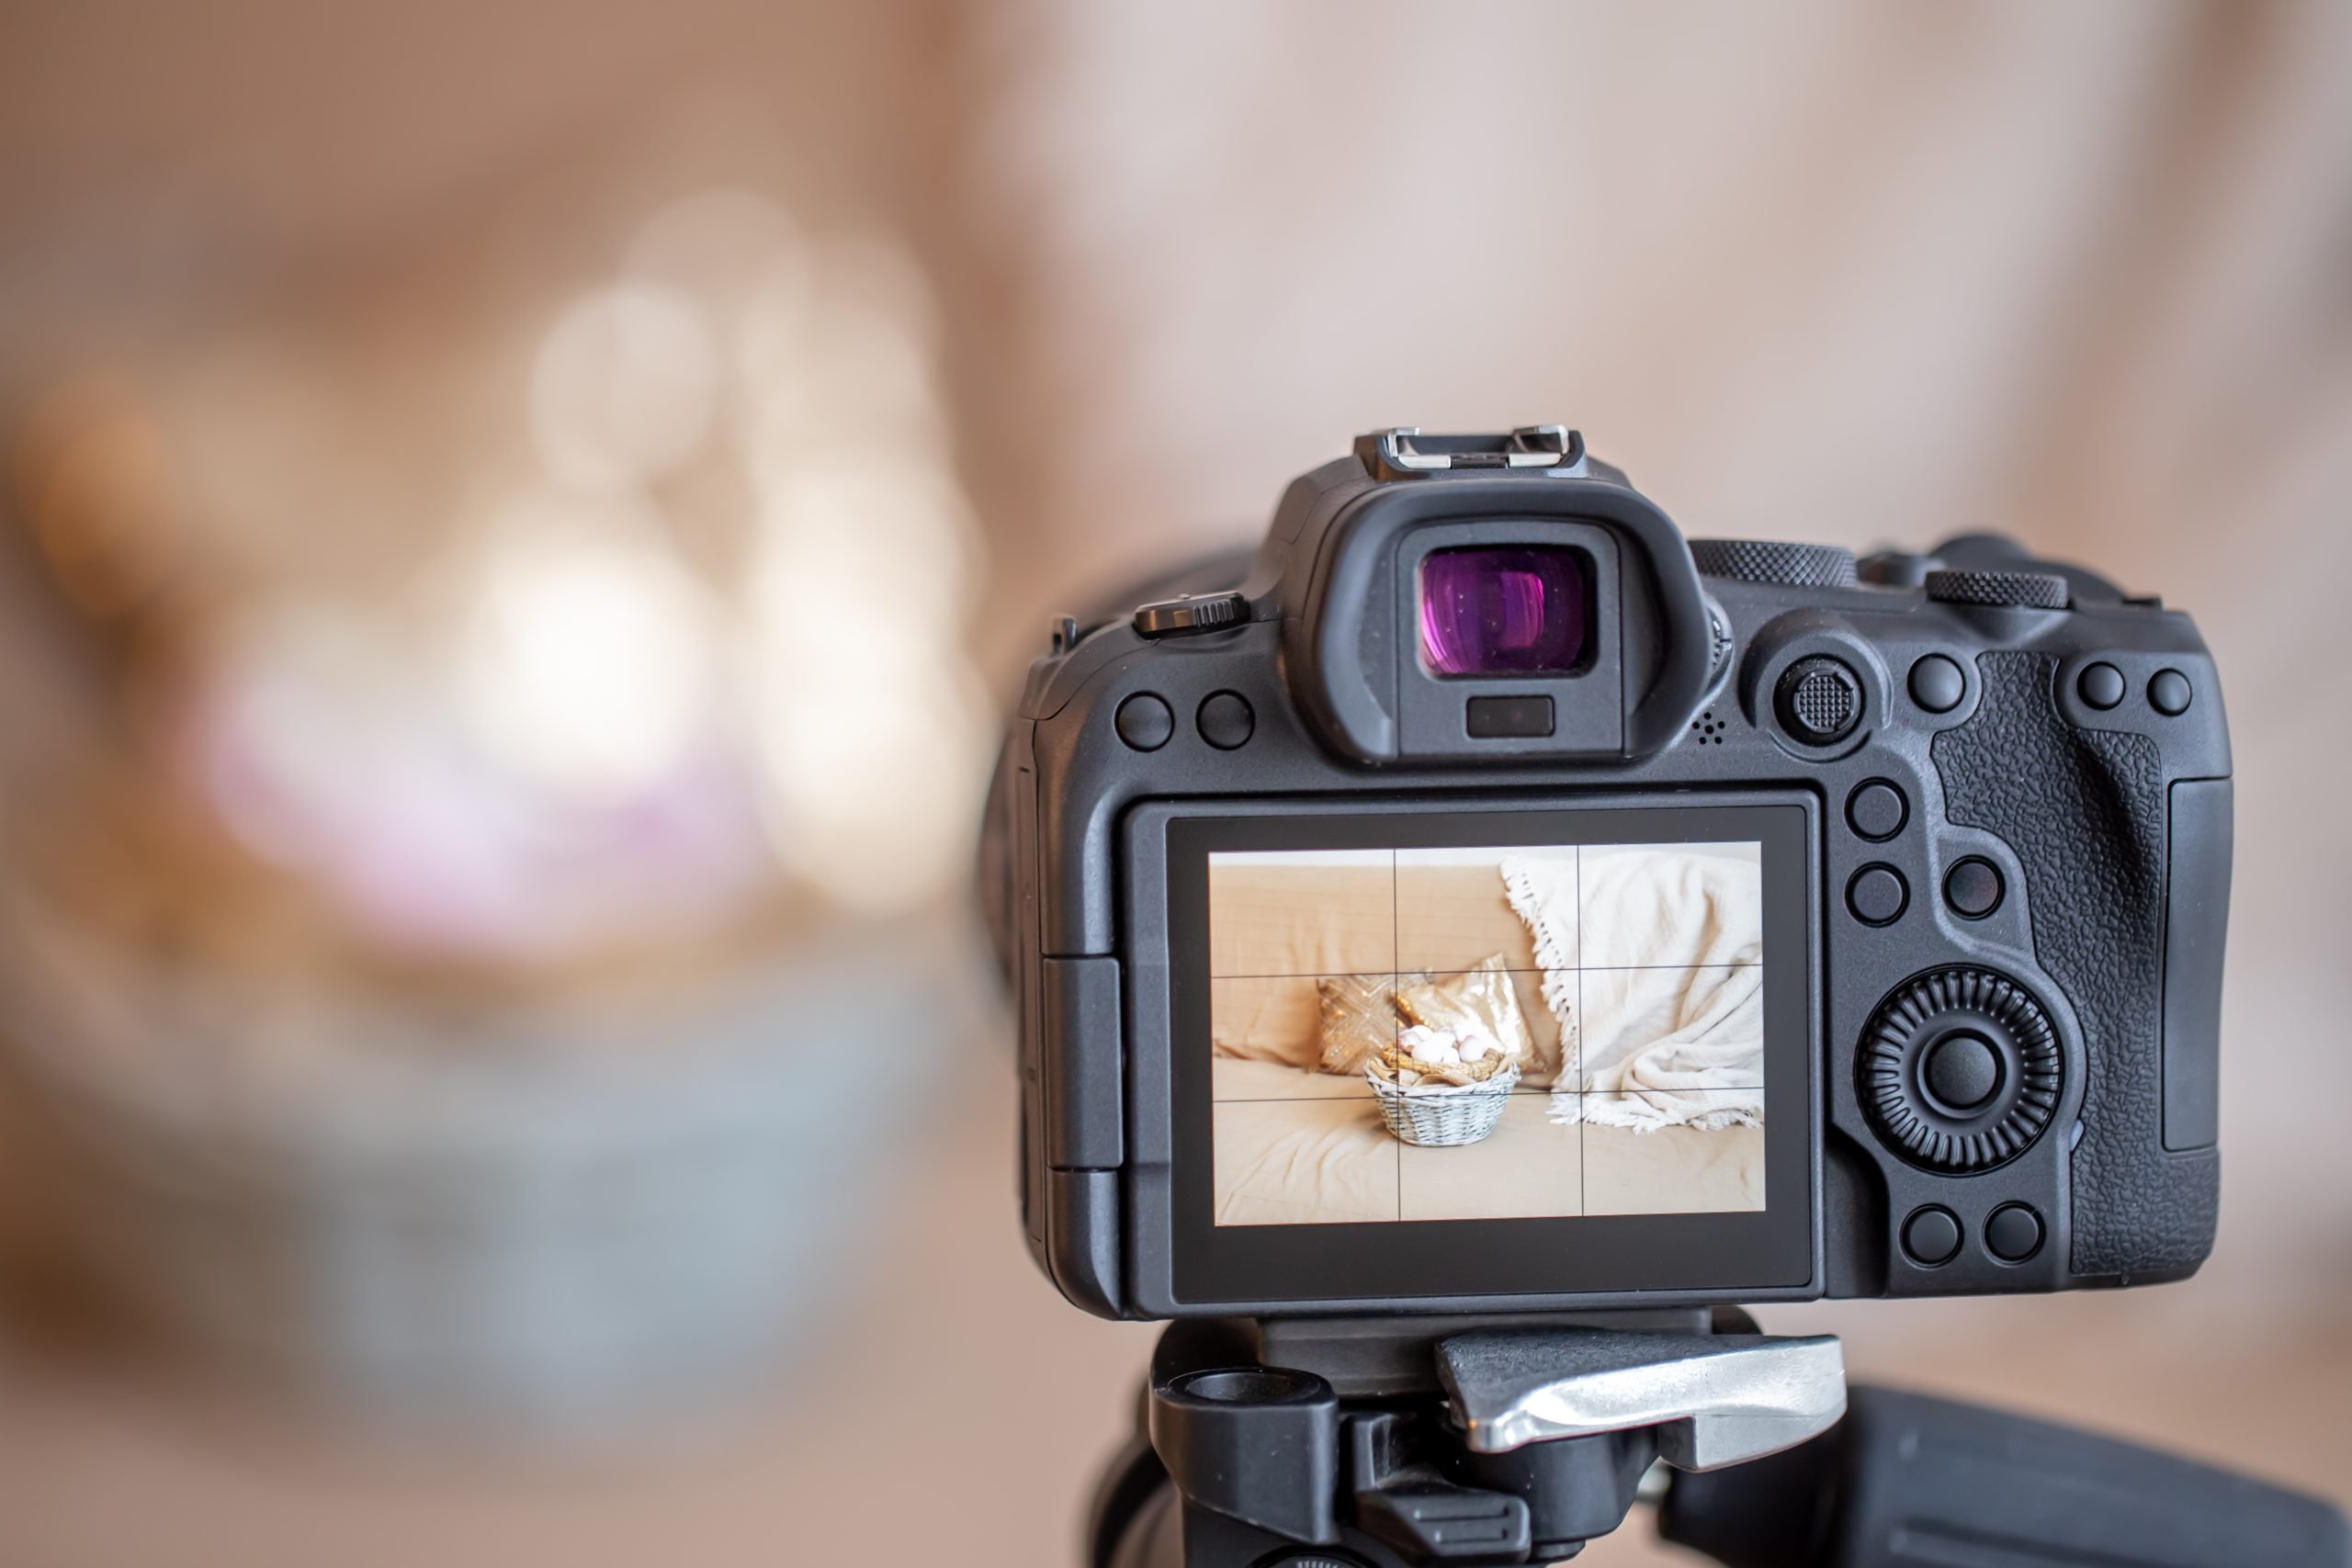
Correct exposure ensures that your image is neither too dark (underexposed) nor too bright (overexposed). Most cameras nowadays have a built-in light meter which helps measure the scene’s brightness, often presenting the reading on a scale. Modern cameras offer several metering modes, such as:
- Matrix metering: Evaluates the entire frame, balancing exposure across the scene.
- Center-weighted metering: Prioritizes the center, useful for portraits.
- Spot metering: Measures a small focus area, ideal for backlit subjects.
- Highlight priority: Protects the highlights close to your subject. You won’t find this mode in all cameras.
When the camera’s automatic mode struggles, you can use exposure compensation to fine-tune brightness. Or, my preferred method – switch to manual mode for complete control over your shot.
Advanced techniques to enhance exposure control
Bracket exposures
When you’ve mastered the basics of exposure in photography, you can try and play with exposure bracketing. Take multiple shots at different exposure levels to ensure you capture the best result. This technique is especially useful in high-contrast scenes where highlights and shadows may both contain critical details (sunsets, woodland photography).
Use of different exposure modes
All mirrorless and DSLR cameras feature various exposure modes:
- Manual mode: Offers full control over aperture, shutter speed, and ISO (+ white balance).
- Aperture-priority mode (Av): It lets you select the aperture and ISO (and white balance) while the camera adjusts shutter speed.
- Shutter-priority mode (Tv or S): It lets you control shutter speed and ISO (and white balance) while the camera adjusts aperture.
- Program mode (P): You control the ISO and white balance, while your camera adjust the aperture and shutter speed
- Auto mode: Your camera settings are not under your control. Great for quick snaps but limits creative freedom.
Tripods for stability
As I mentioned earlier, a tripod is your best ally to avoid motion blur. In low-light conditions requiring slower shutter speeds, this is your best bet! Pair it with a remote shutter release or a timer for the sharpest results to reduce even the micro-shakes.
Exposure compensation
If your photos appear consistently too bright or dark in certain conditions, you can adjust the exposure compensation setting, typically represented as “+/-” on your camera.
High Dynamic Range (HDR)
Combine multiple exposures of the same scene to balance highlights and shadows. HDR photography is particularly effective in landscape photography. Although, it was all the rage in almost all genres when I was first starting out in digital photography. :)
Practical examples for perfect exposure in photography
Okay, so we’ve gone through the theory, let’s jump to practical examples. Here are a few situations you may encounter in your photography, and some tips to achieve perfect exposure in all of them.
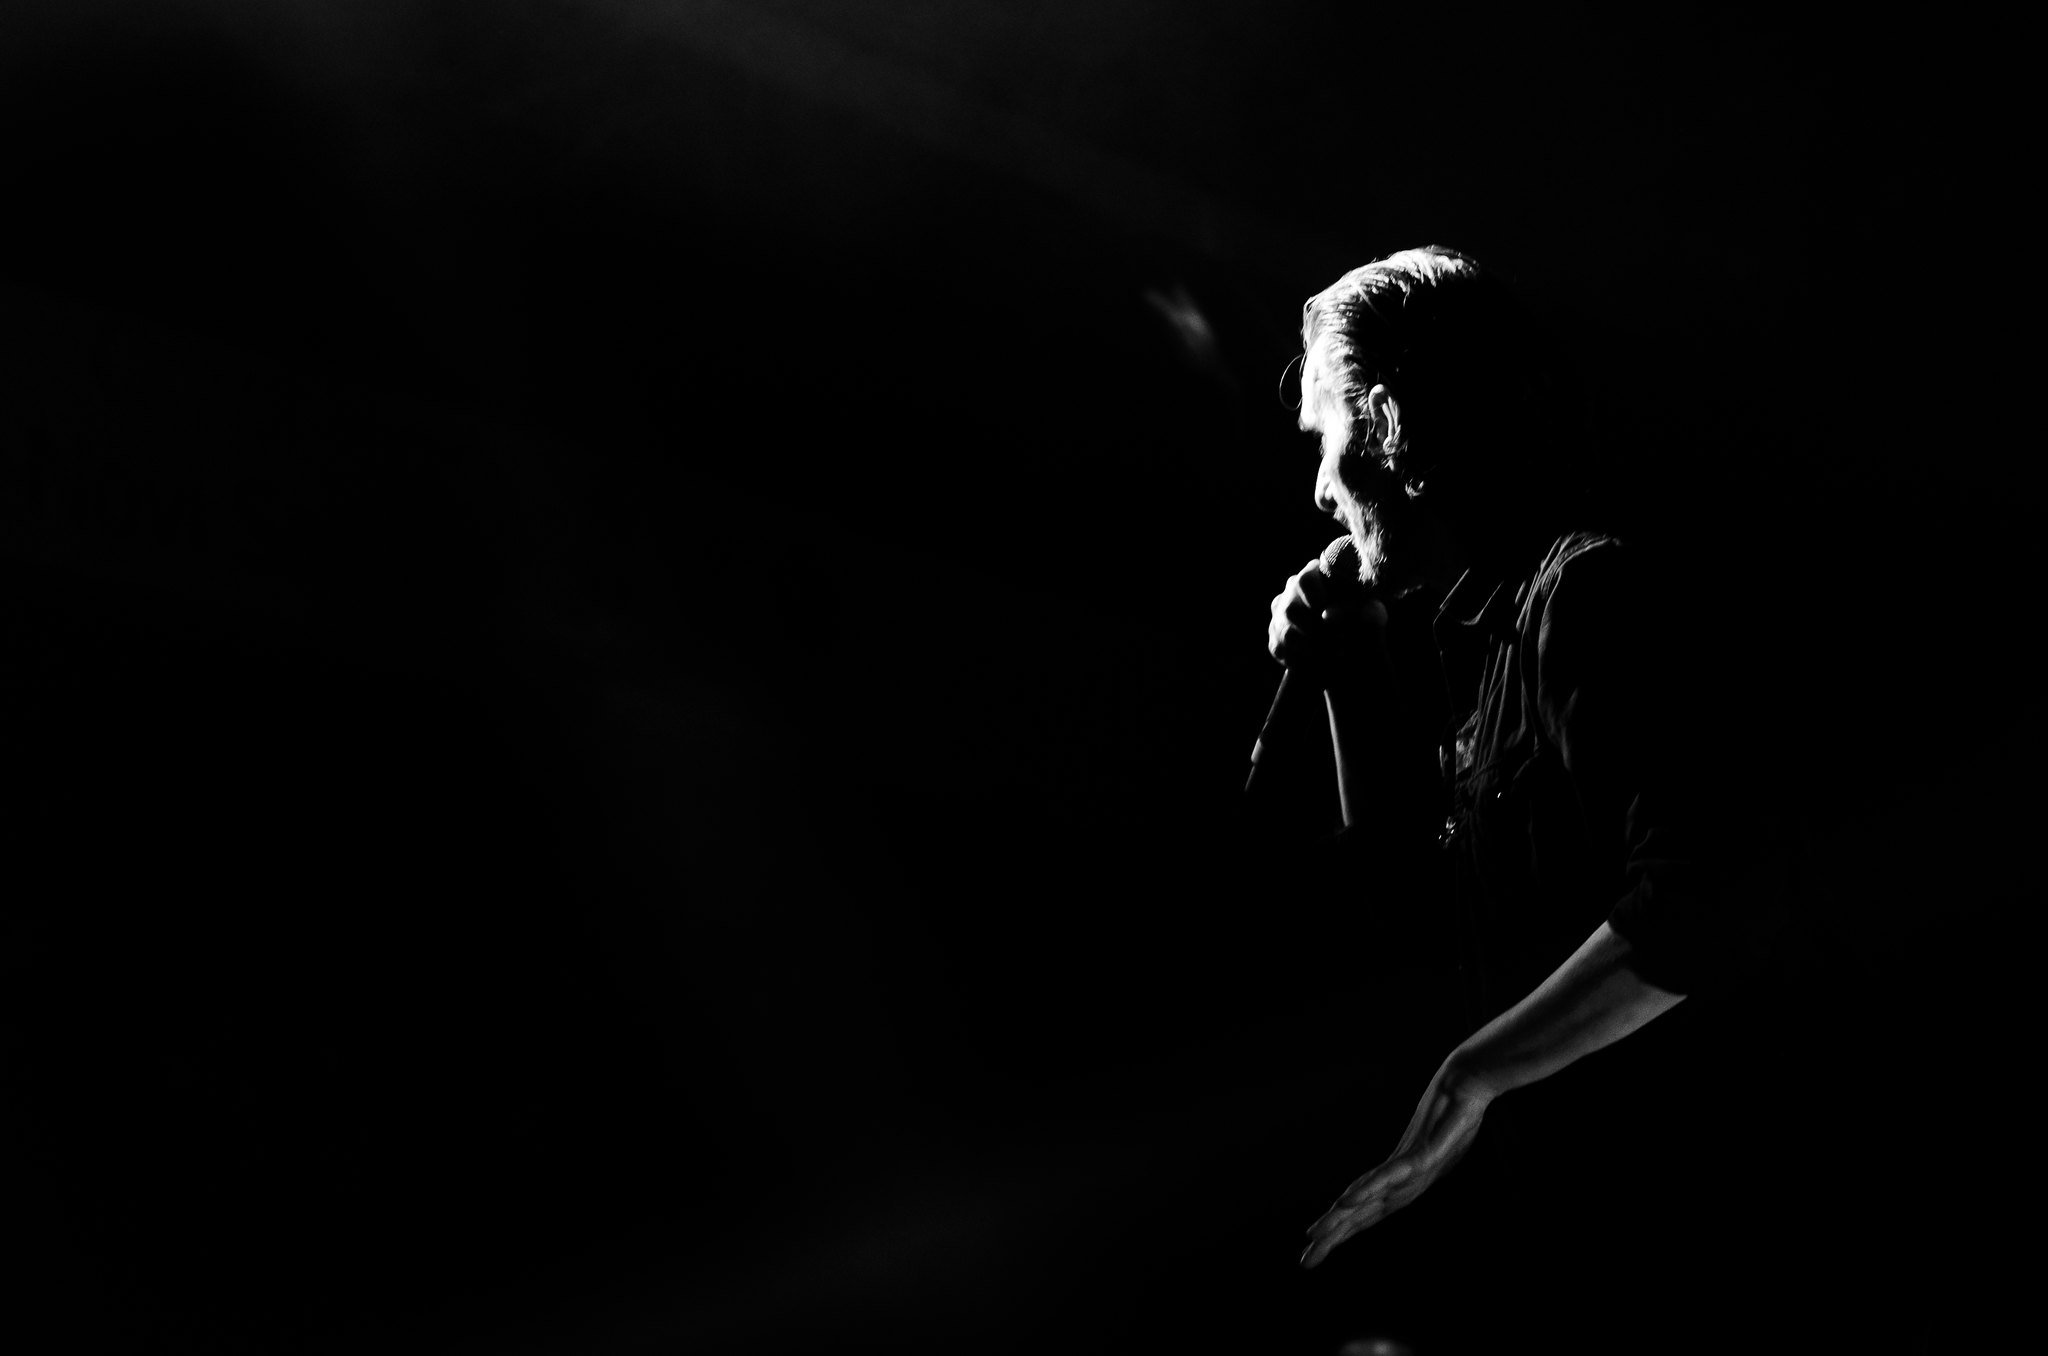
Low-light conditions
Shooting in low light is quite challenging. A wider aperture, slower shutter speed, or higher ISO are your best friends in situations like this. You can also rely on exposure compensation, but always first go with the three basic settings of the exposure triangle.
Capturing motion
When shooting fast-paced environments like sports or events, faster shutter speeds will freeze action. Alternatively, you can emphasize movement with a slower shutter speed, and even combine it with flash for unique shots. This project is a great example of the latter.
Dealing with harsh light
In bright sunlight, use small apertures and fast shutter speeds. You can even introduce ND filters, especially if you want to shoot long exposures. They will reduce light, allowing you to use a slower shutter speed without overexposing.
Conclusion
Photography exposure is both an art and a science. Mastery comes from understanding the interplay between aperture, shutter speed, and ISO, and how they affect your image’s aesthetic. With tools like the camera’s light meter and metering modes, you can achieve the correct exposure across various lighting conditions. Experiment, practice, and let your creativity shine, whether you’re capturing serene landscapes or high-energy action shots.
FAQ
The three basics of exposure are aperture, shutter speed, and ISO. Adjusting one often requires changes in the others to maintain the right exposure, keeping your photo neither over or underexposed.
A shorter exposure allows you to capture or “freeze” movement. Using a faster shutter speed will allow you to achieve this, and it is often used in sports photography.
Long exposure in photography is a technique where the camera’s shutter remains open for an extended period, allowing more light to reach the sensor. This creates effects like motion blur for moving subjects (e.g., flowing water or passing cars) while keeping stationary objects sharp. It is often used for capturing night scenes, light trails, or silky-smooth water textures.

Dunja Djudjic
Dunja Djudjic is a multi-talented artist based in Novi Sad, Serbia. With 15 years of experience as a photographer, she specializes in capturing the beauty of nature, travel, and fine art. In addition to her photography, Dunja also expresses her creativity through writing, embroidery, and jewelry making.
Related Posts
 Know The Difference Between Correct Exposure And Creatively Correct Exposure
 Exposure Software releases new update Exposure X7 of their all inclusive photo editor
 HDR Photography: A Stop of Light and Automatic Exposure Bracketing
 This beginner’s guide walks you through the basics of long exposure photography
Join the Discussion
DIYP Comment Policy
Be nice, be on-topic, no personal information or flames.